Peelable Banana 3D Model
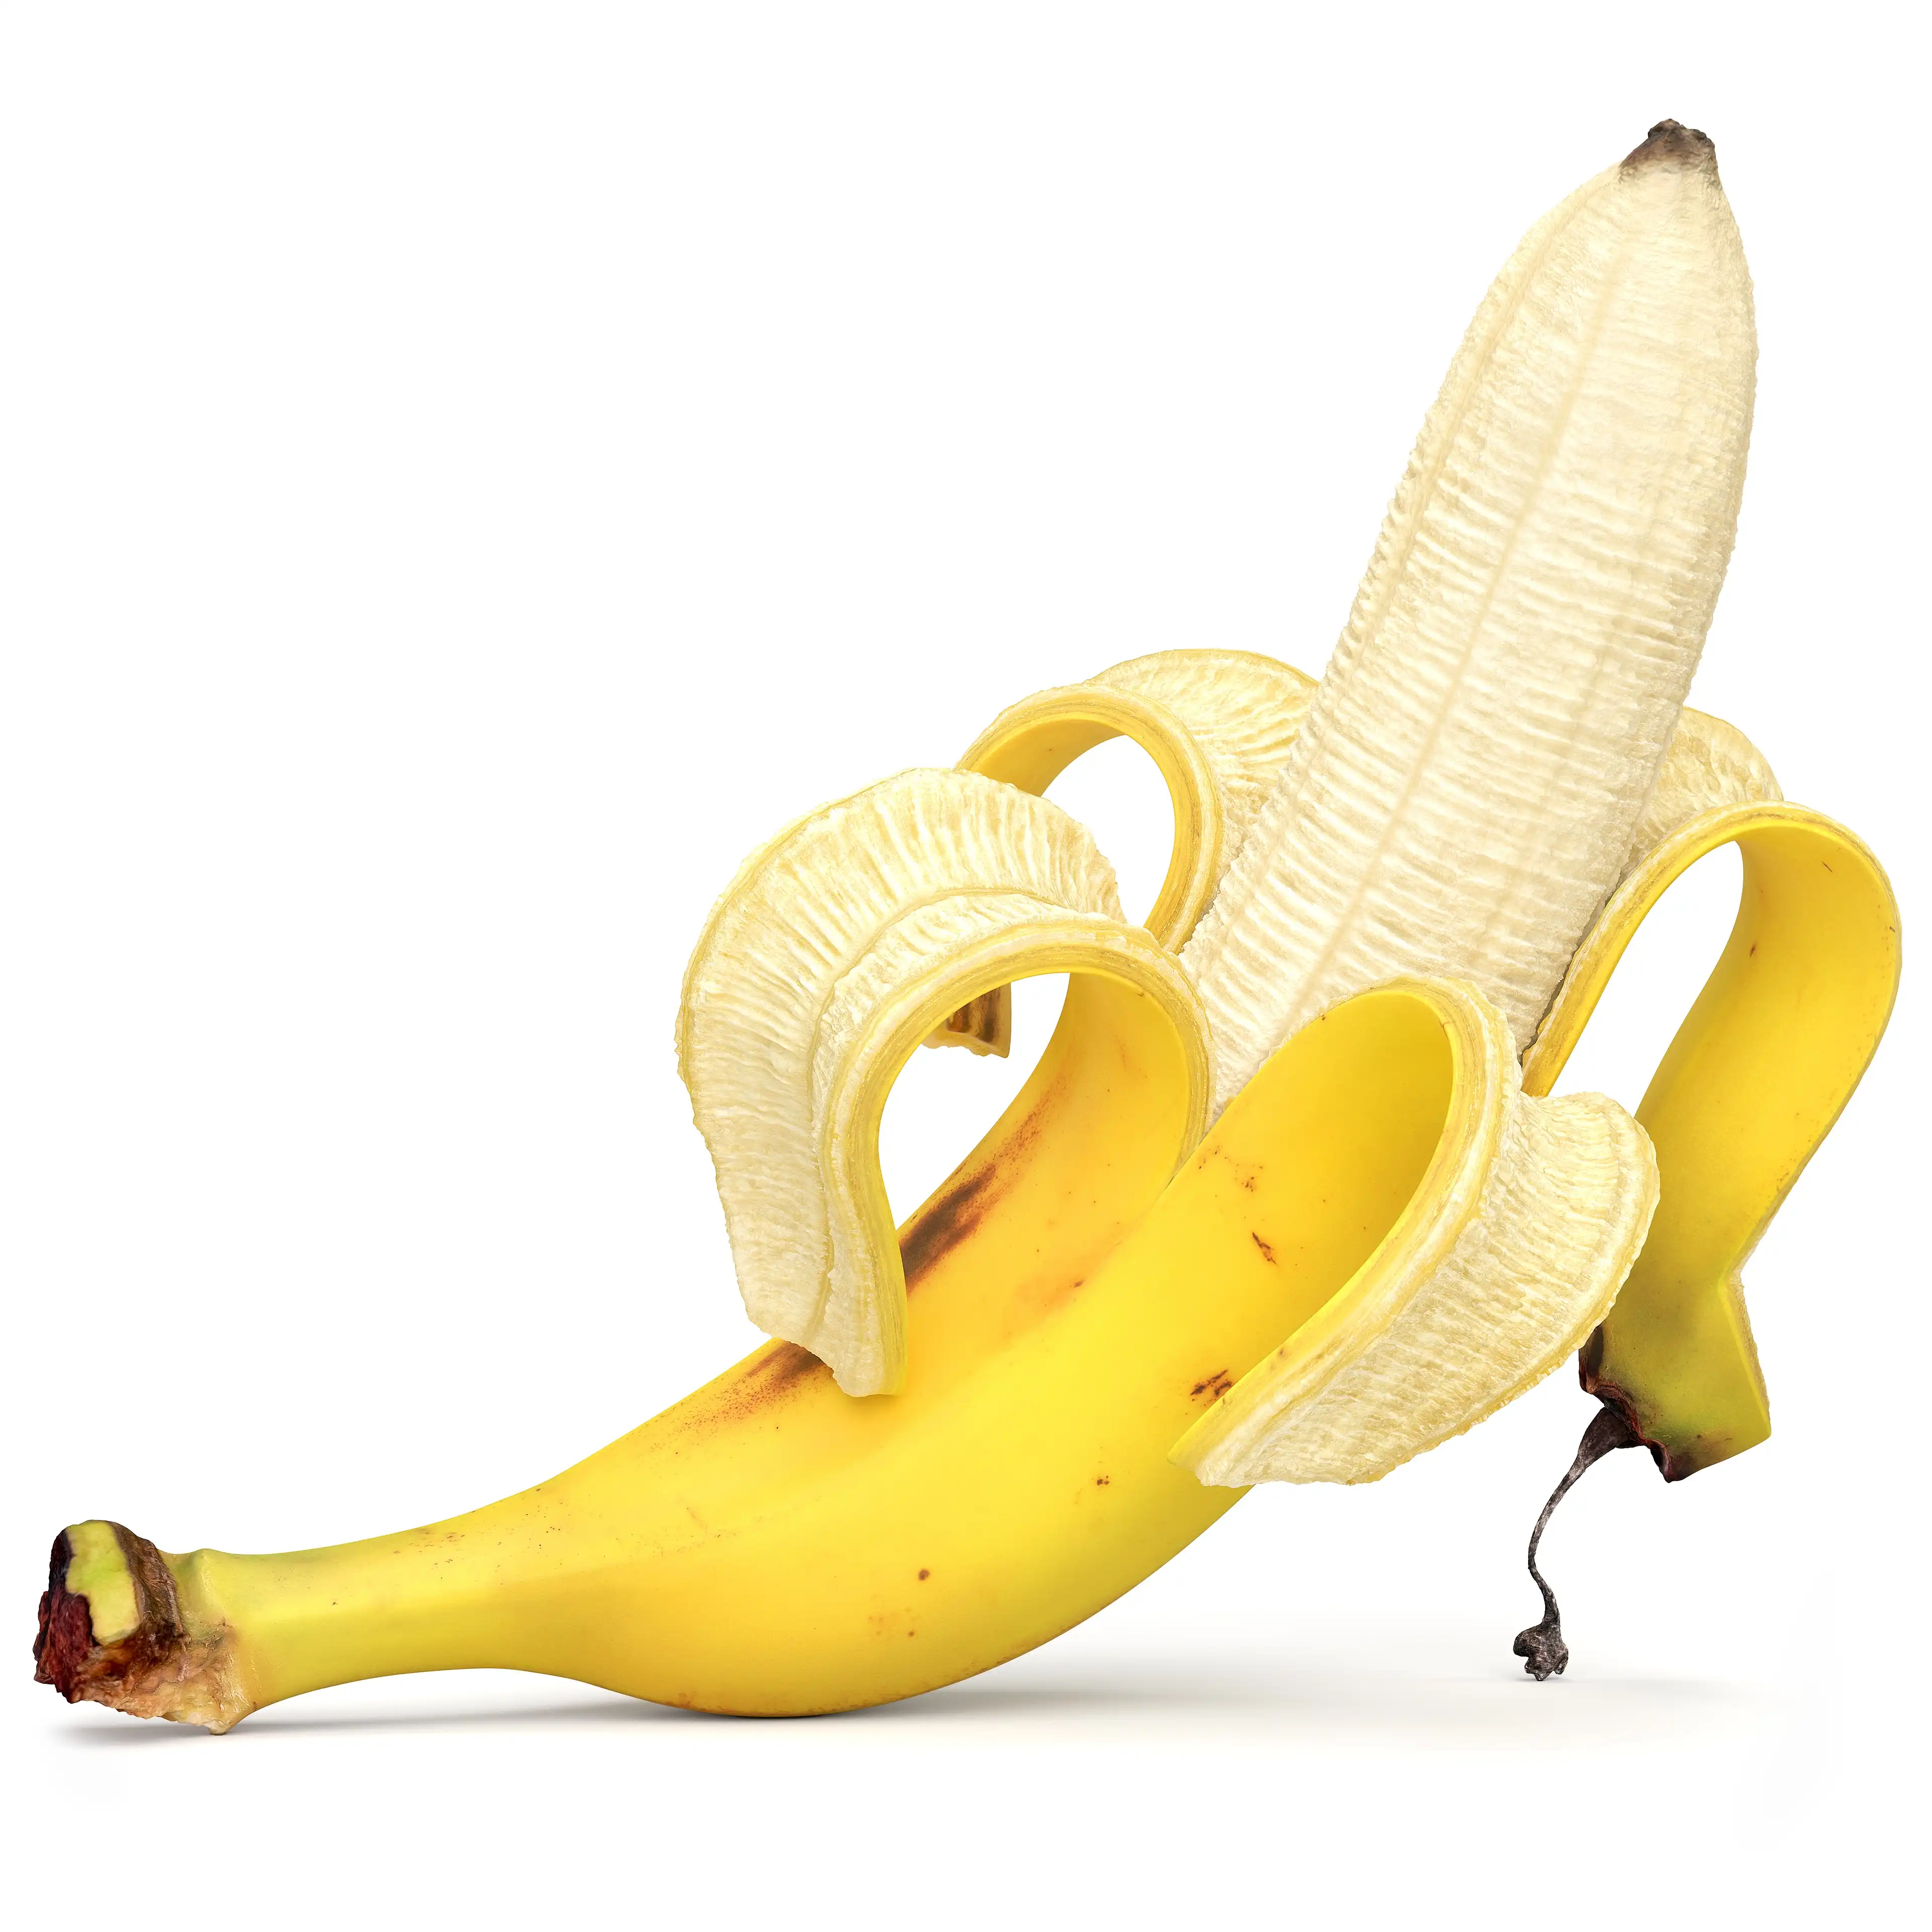
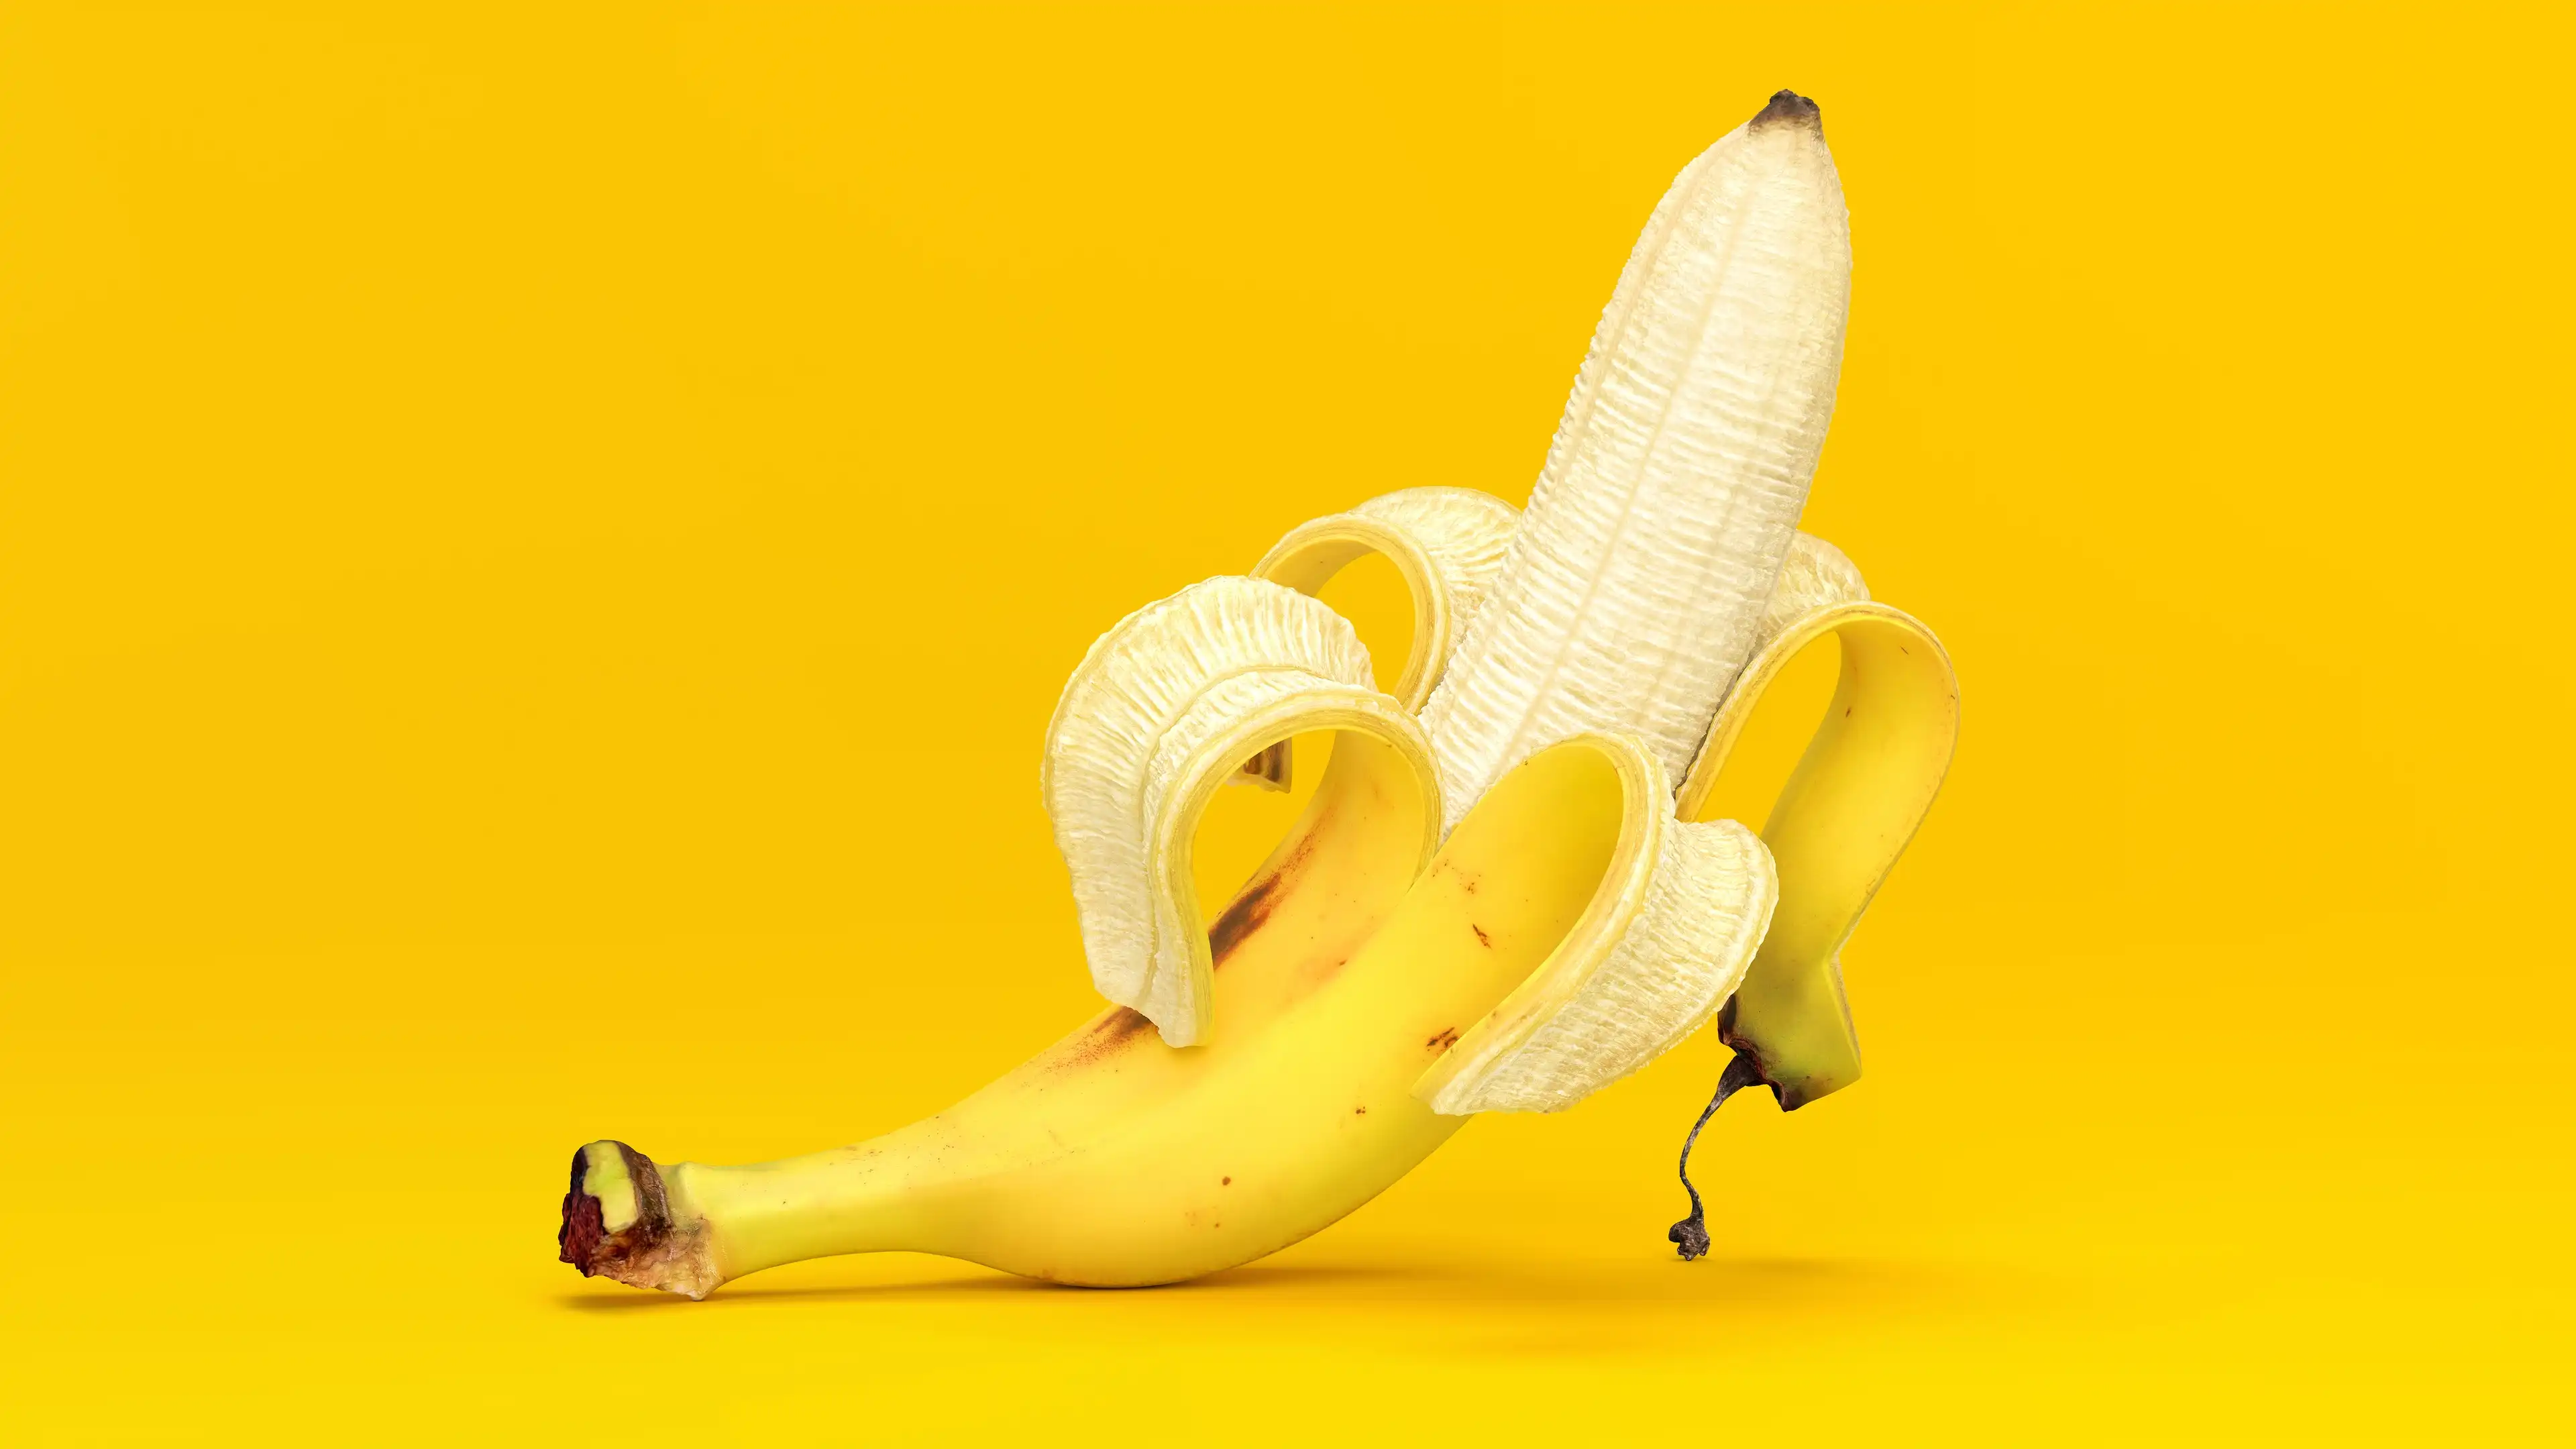
Photorealistic yellow banana 3d model with advanced banana peel geometry. The banana inside and banana peel are the separate models with the separate texture sets. The banana peel or husk or banana skin itself consists of four sections. Each section has two sides, respectively, representing a tight and smooth outer rind and soft and fluffy inner pith. The base mesh is divided into sections and can be assembled into a single closed banana finger.
3D Asset Details
The banana peel or husk or banana skin itself consists of four sections.
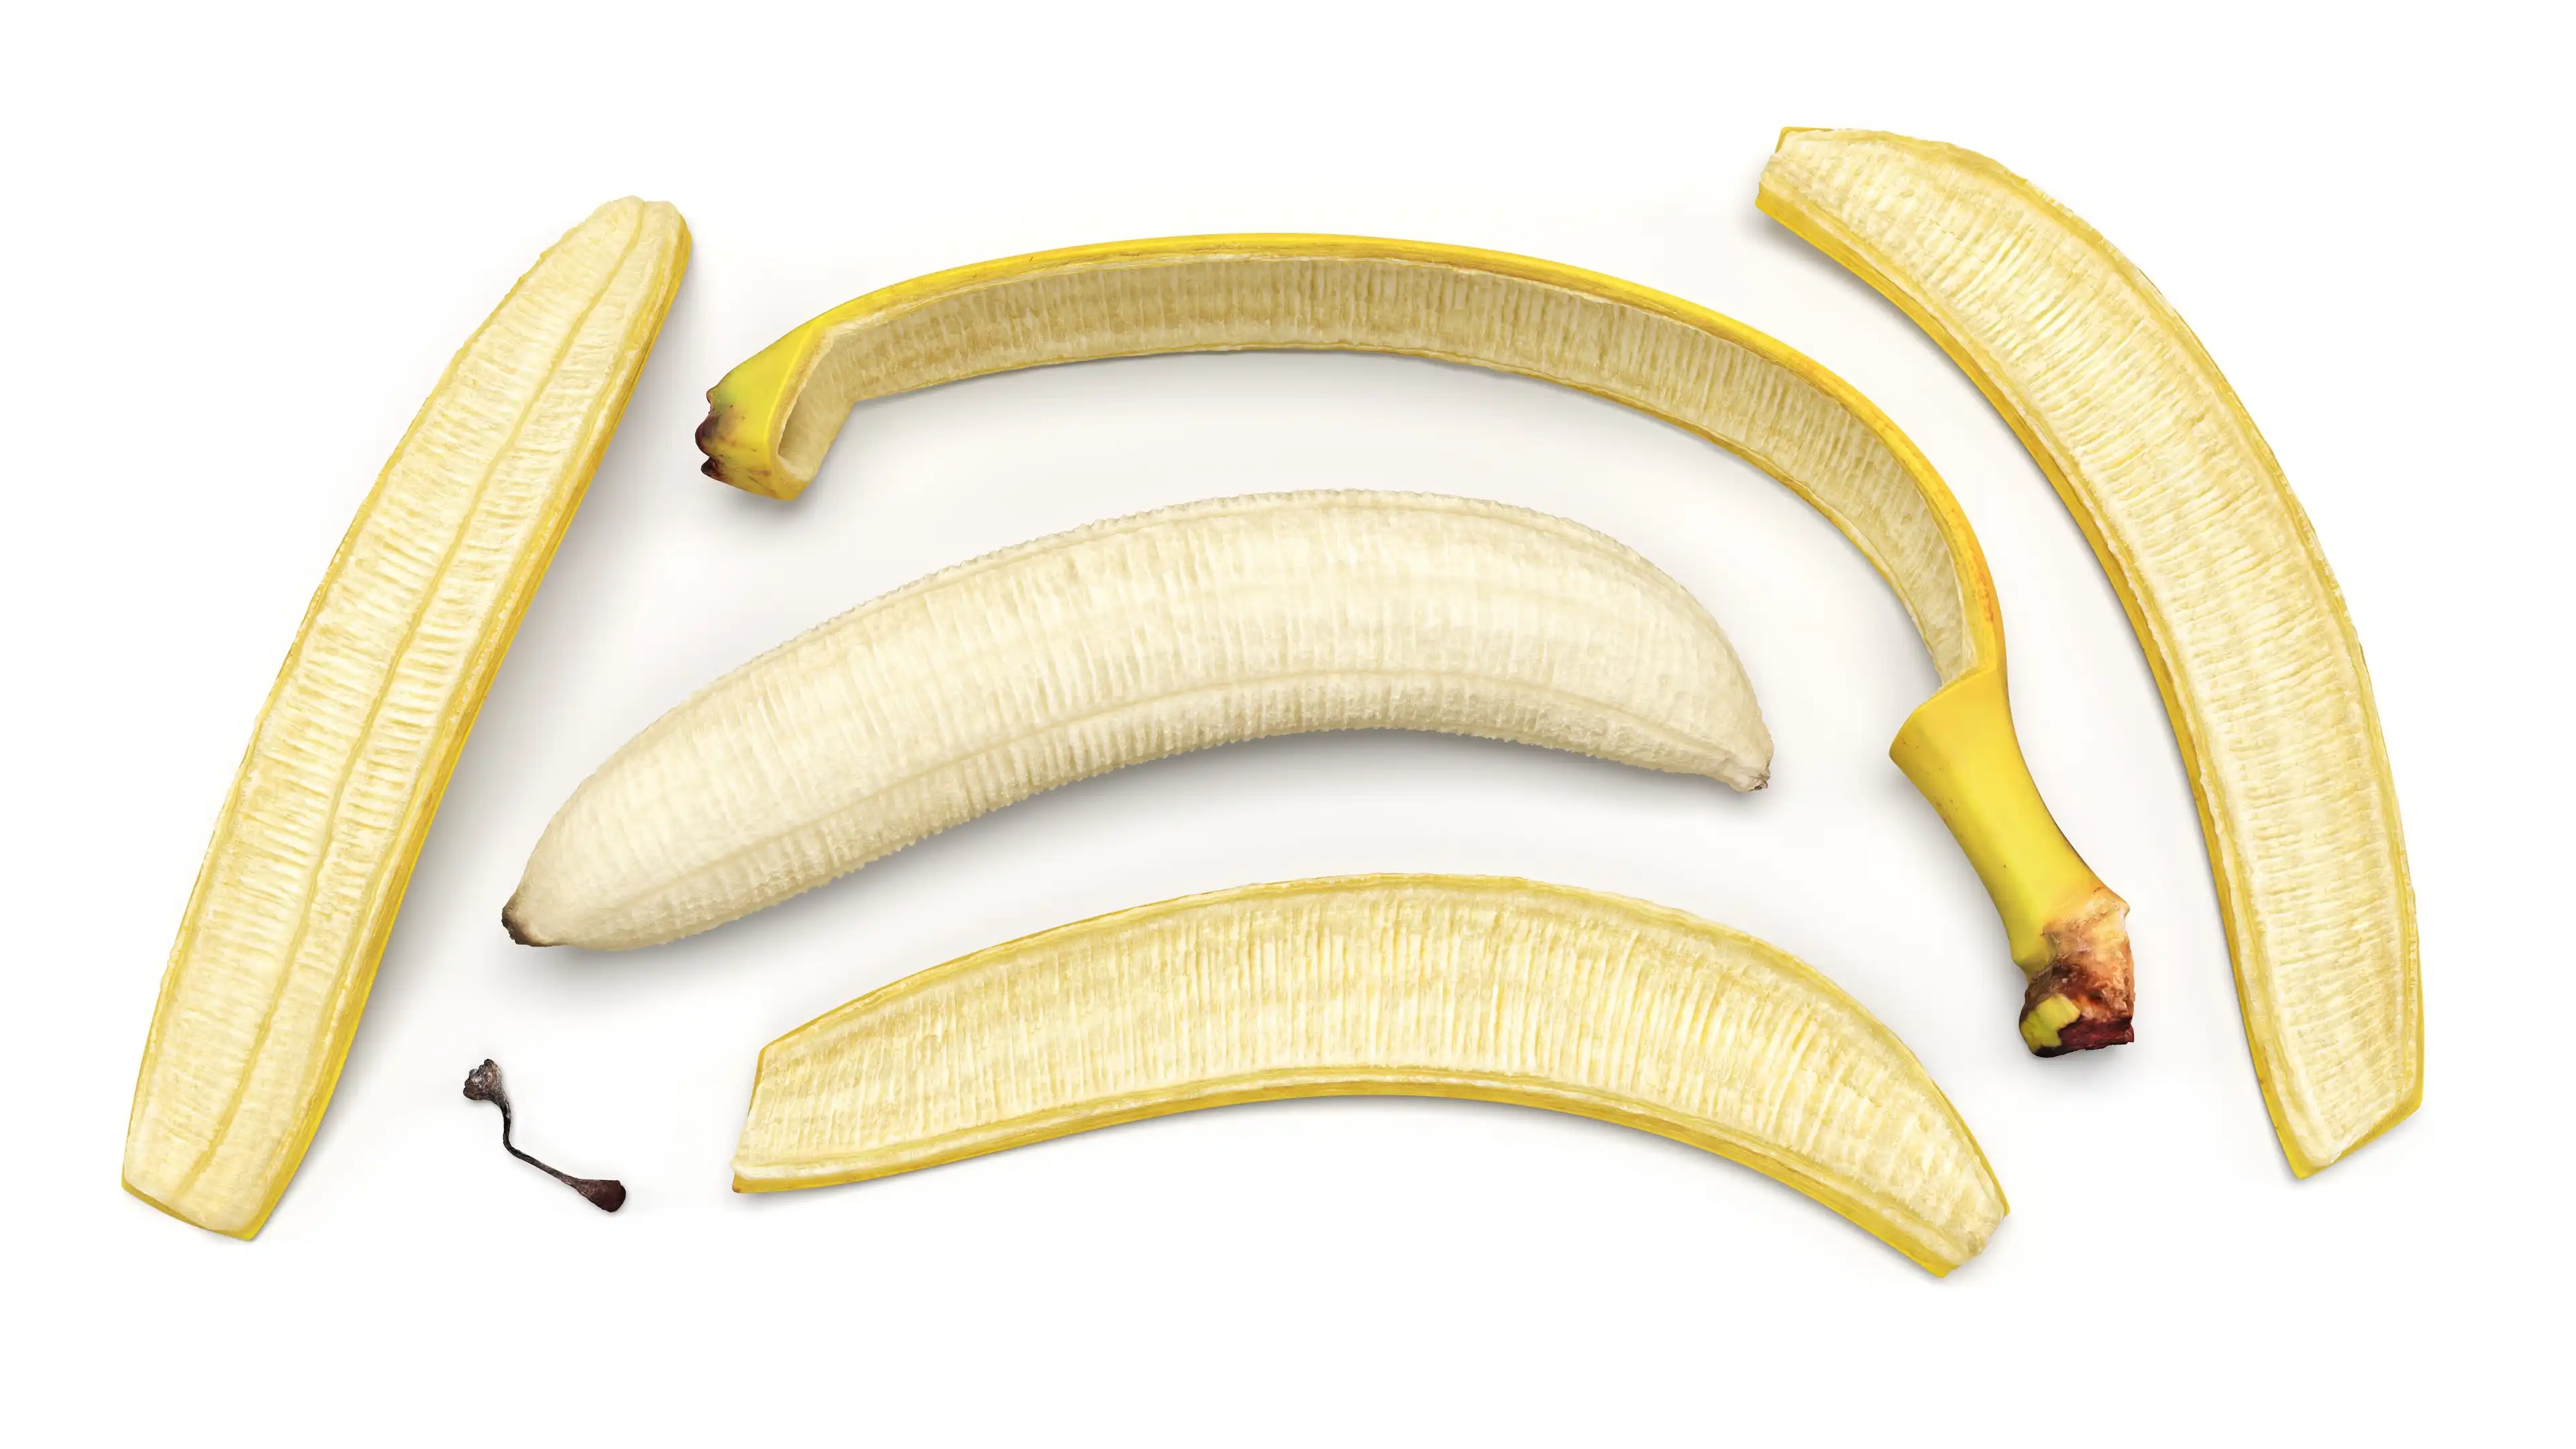
To weld the outer rind of all of the four sections into one "watertight" mesh, the inner pith geometry must be deleted first. Then, all remaining vertices of the outer rind need to be selected and welded with a low threshold. As an option, you can use the already customized modifiers stack for this.
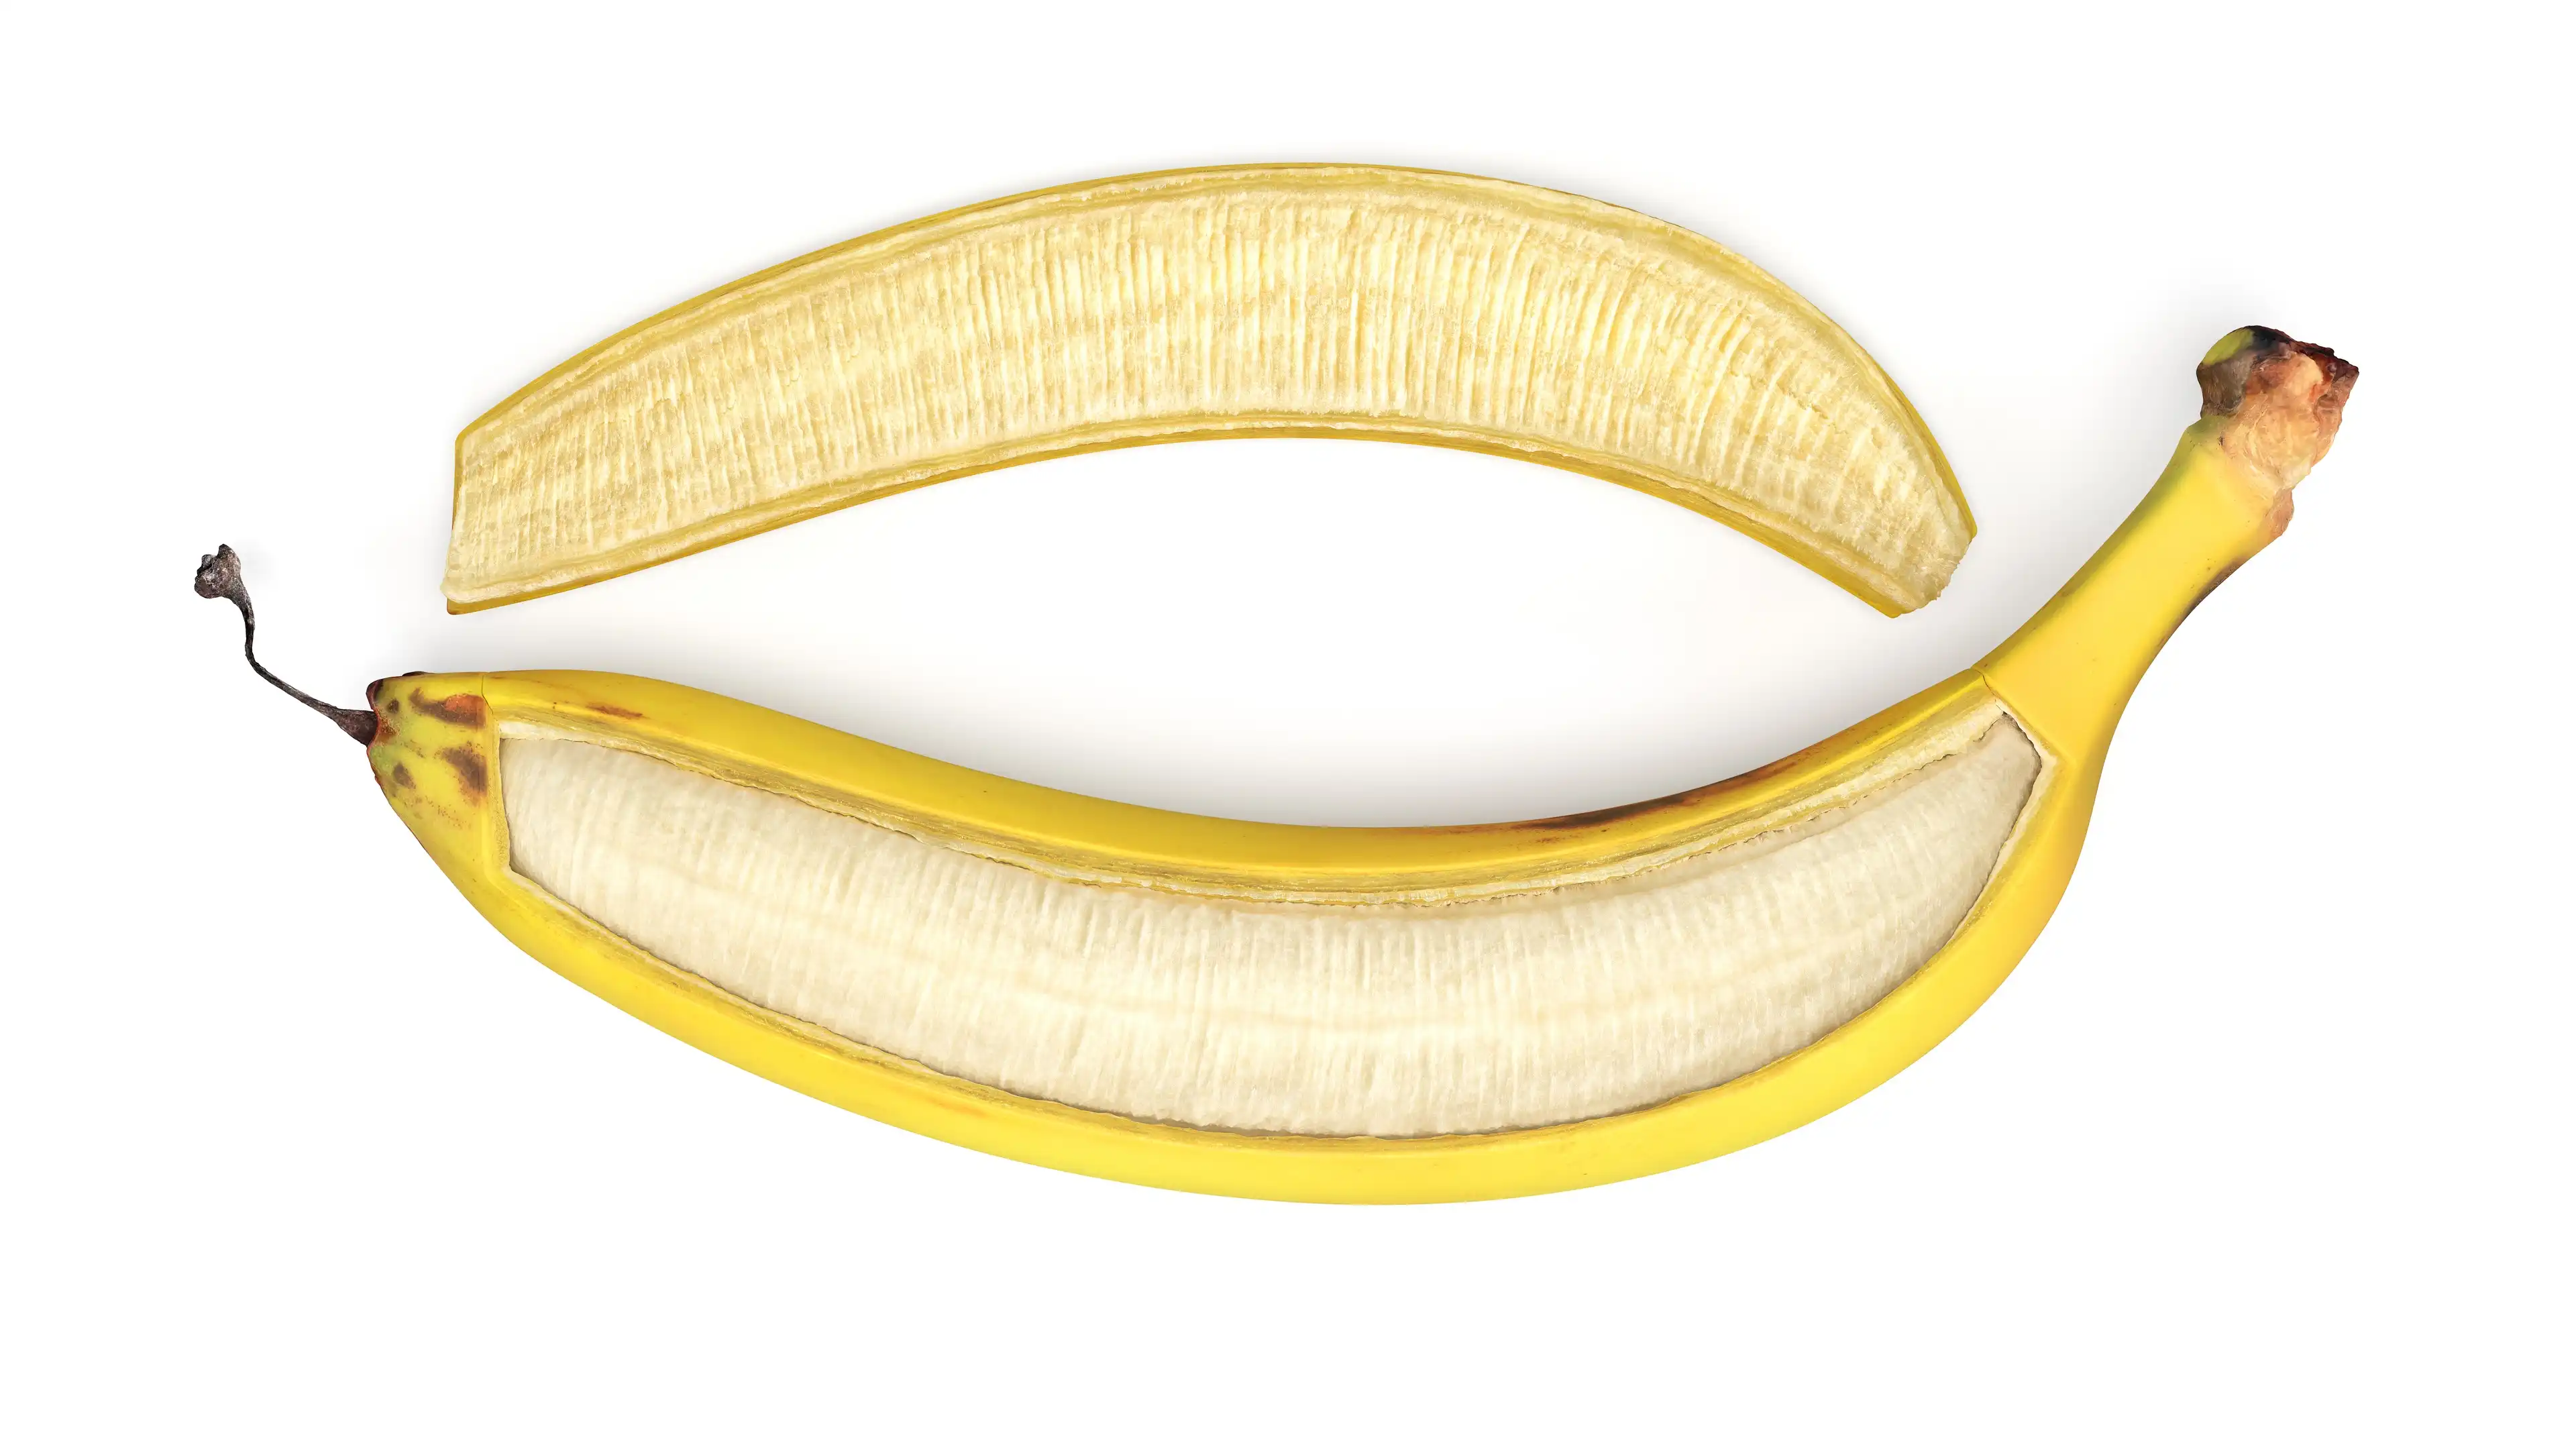
This trick can be done in part. This means that you can "peel" only half of the banana like this:
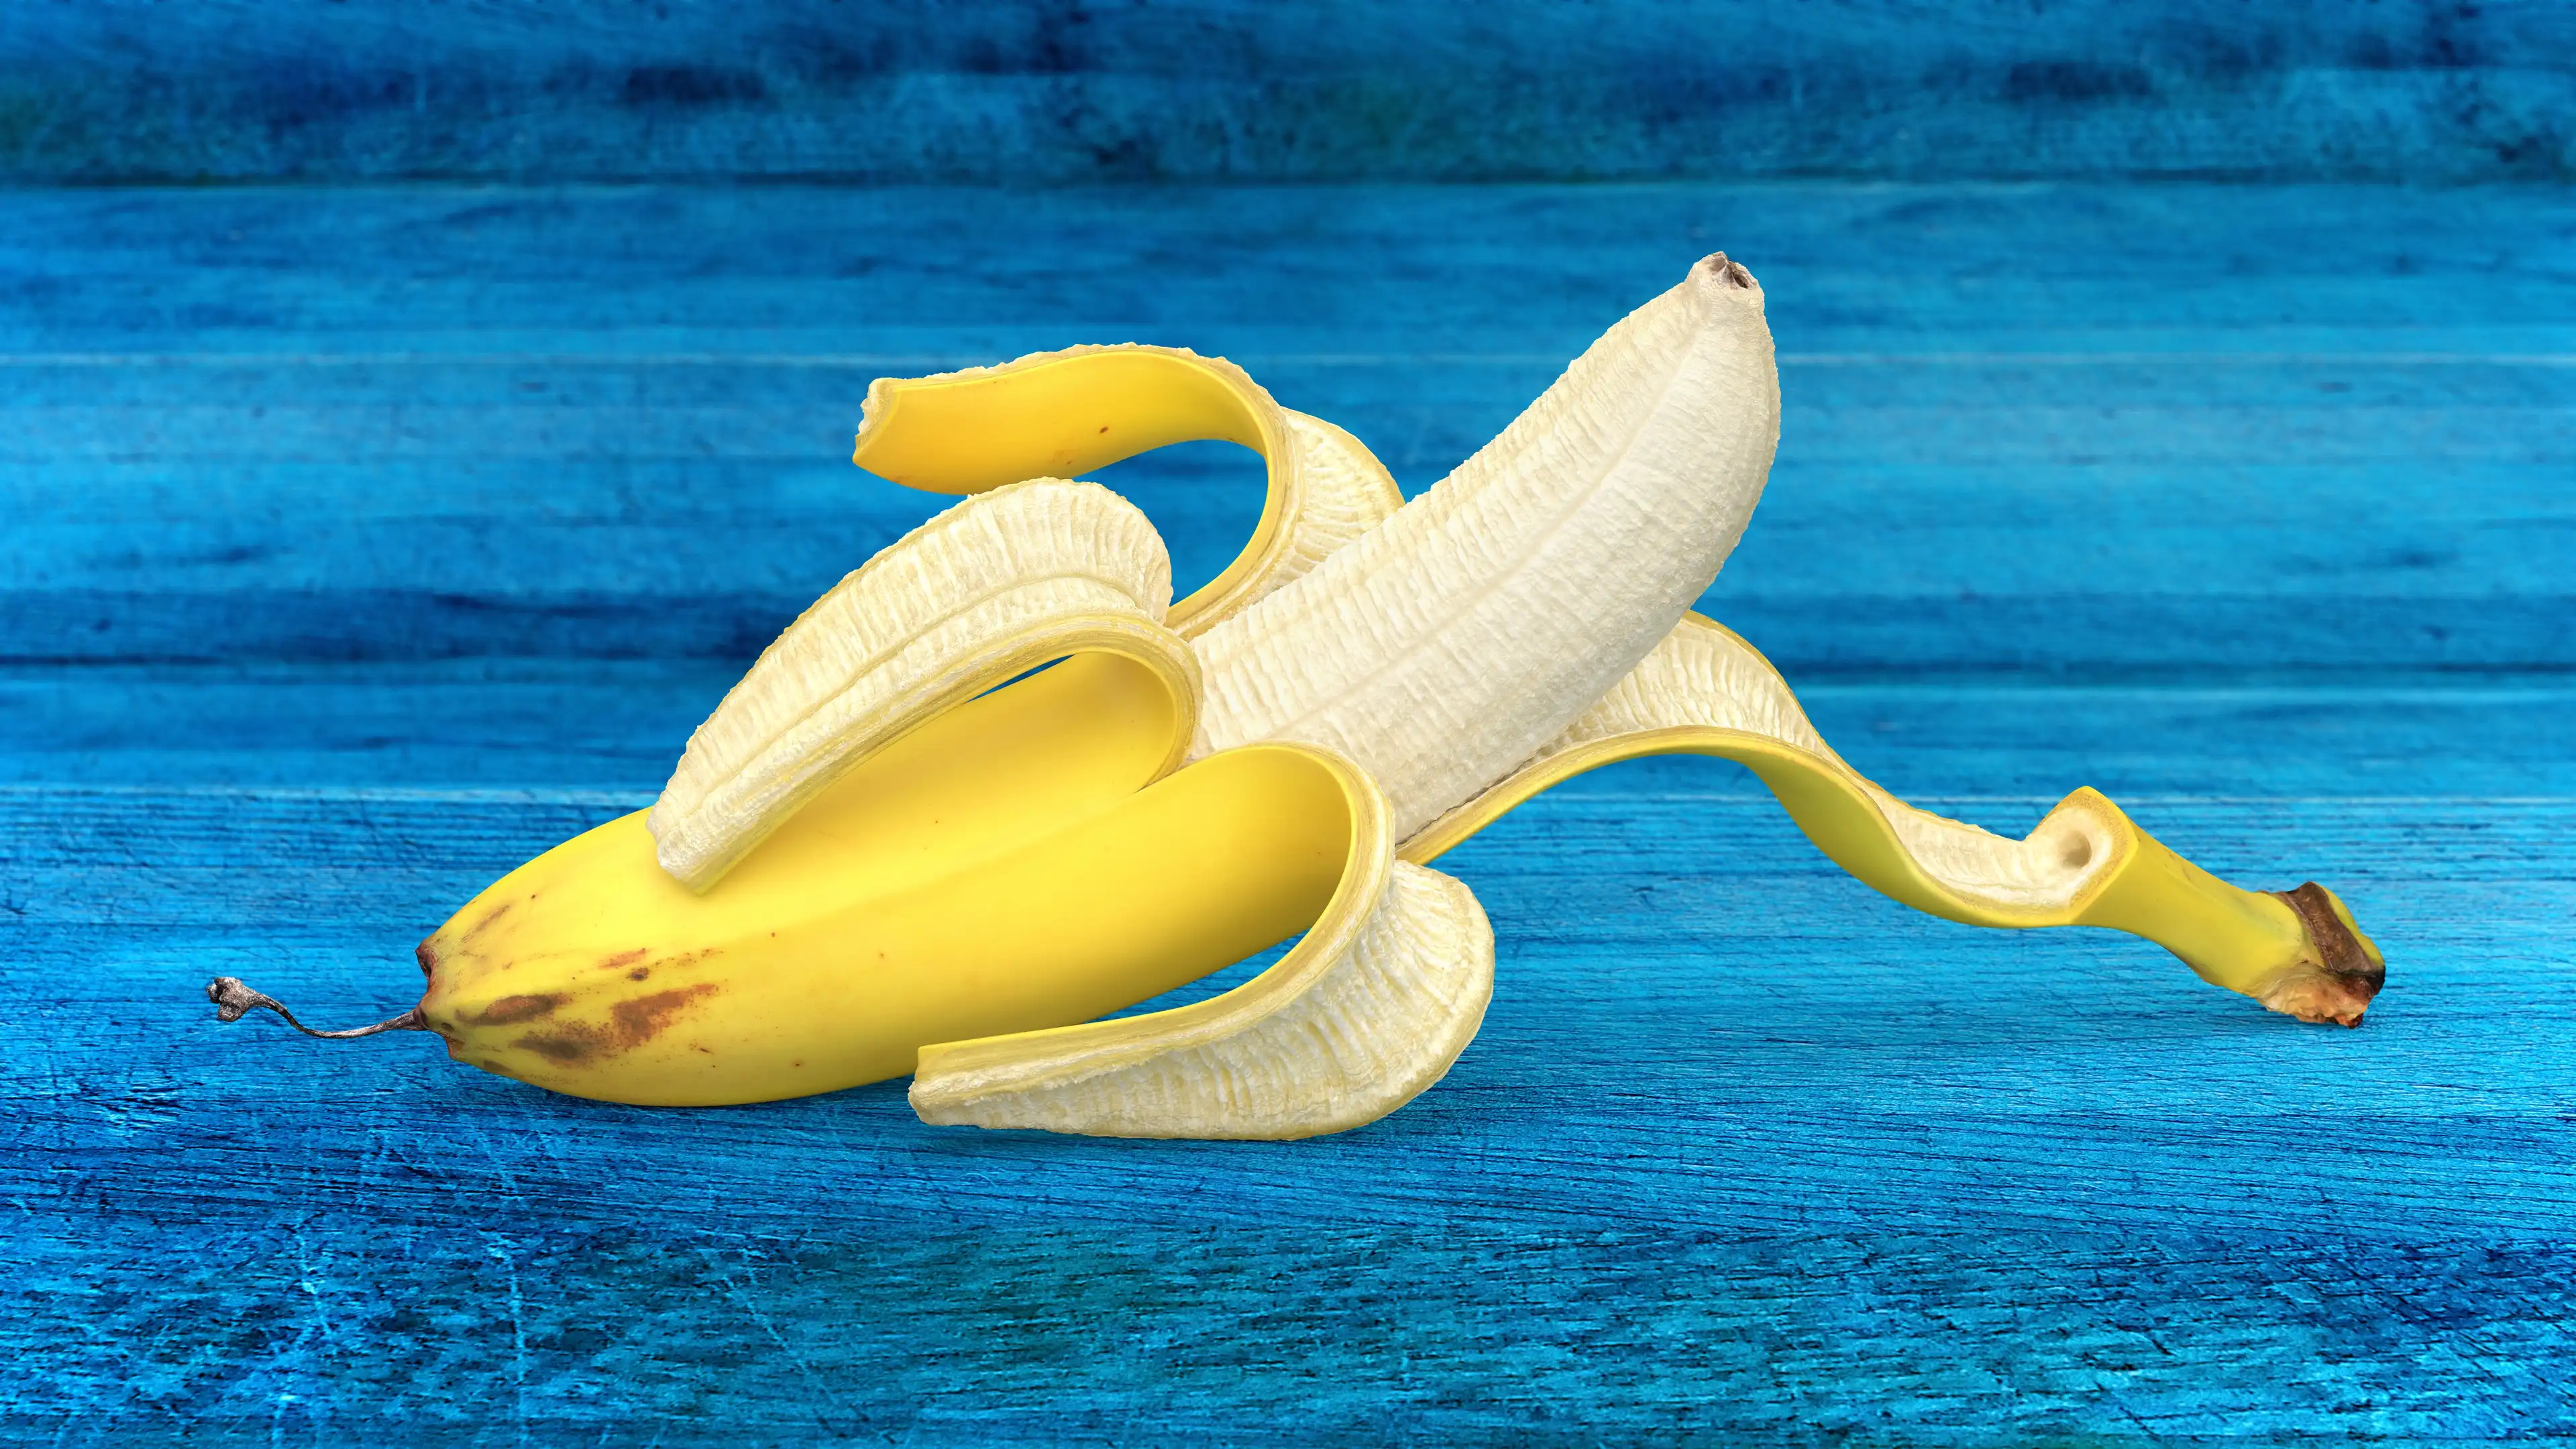
Or maybe peel banana in a monkey way like this:
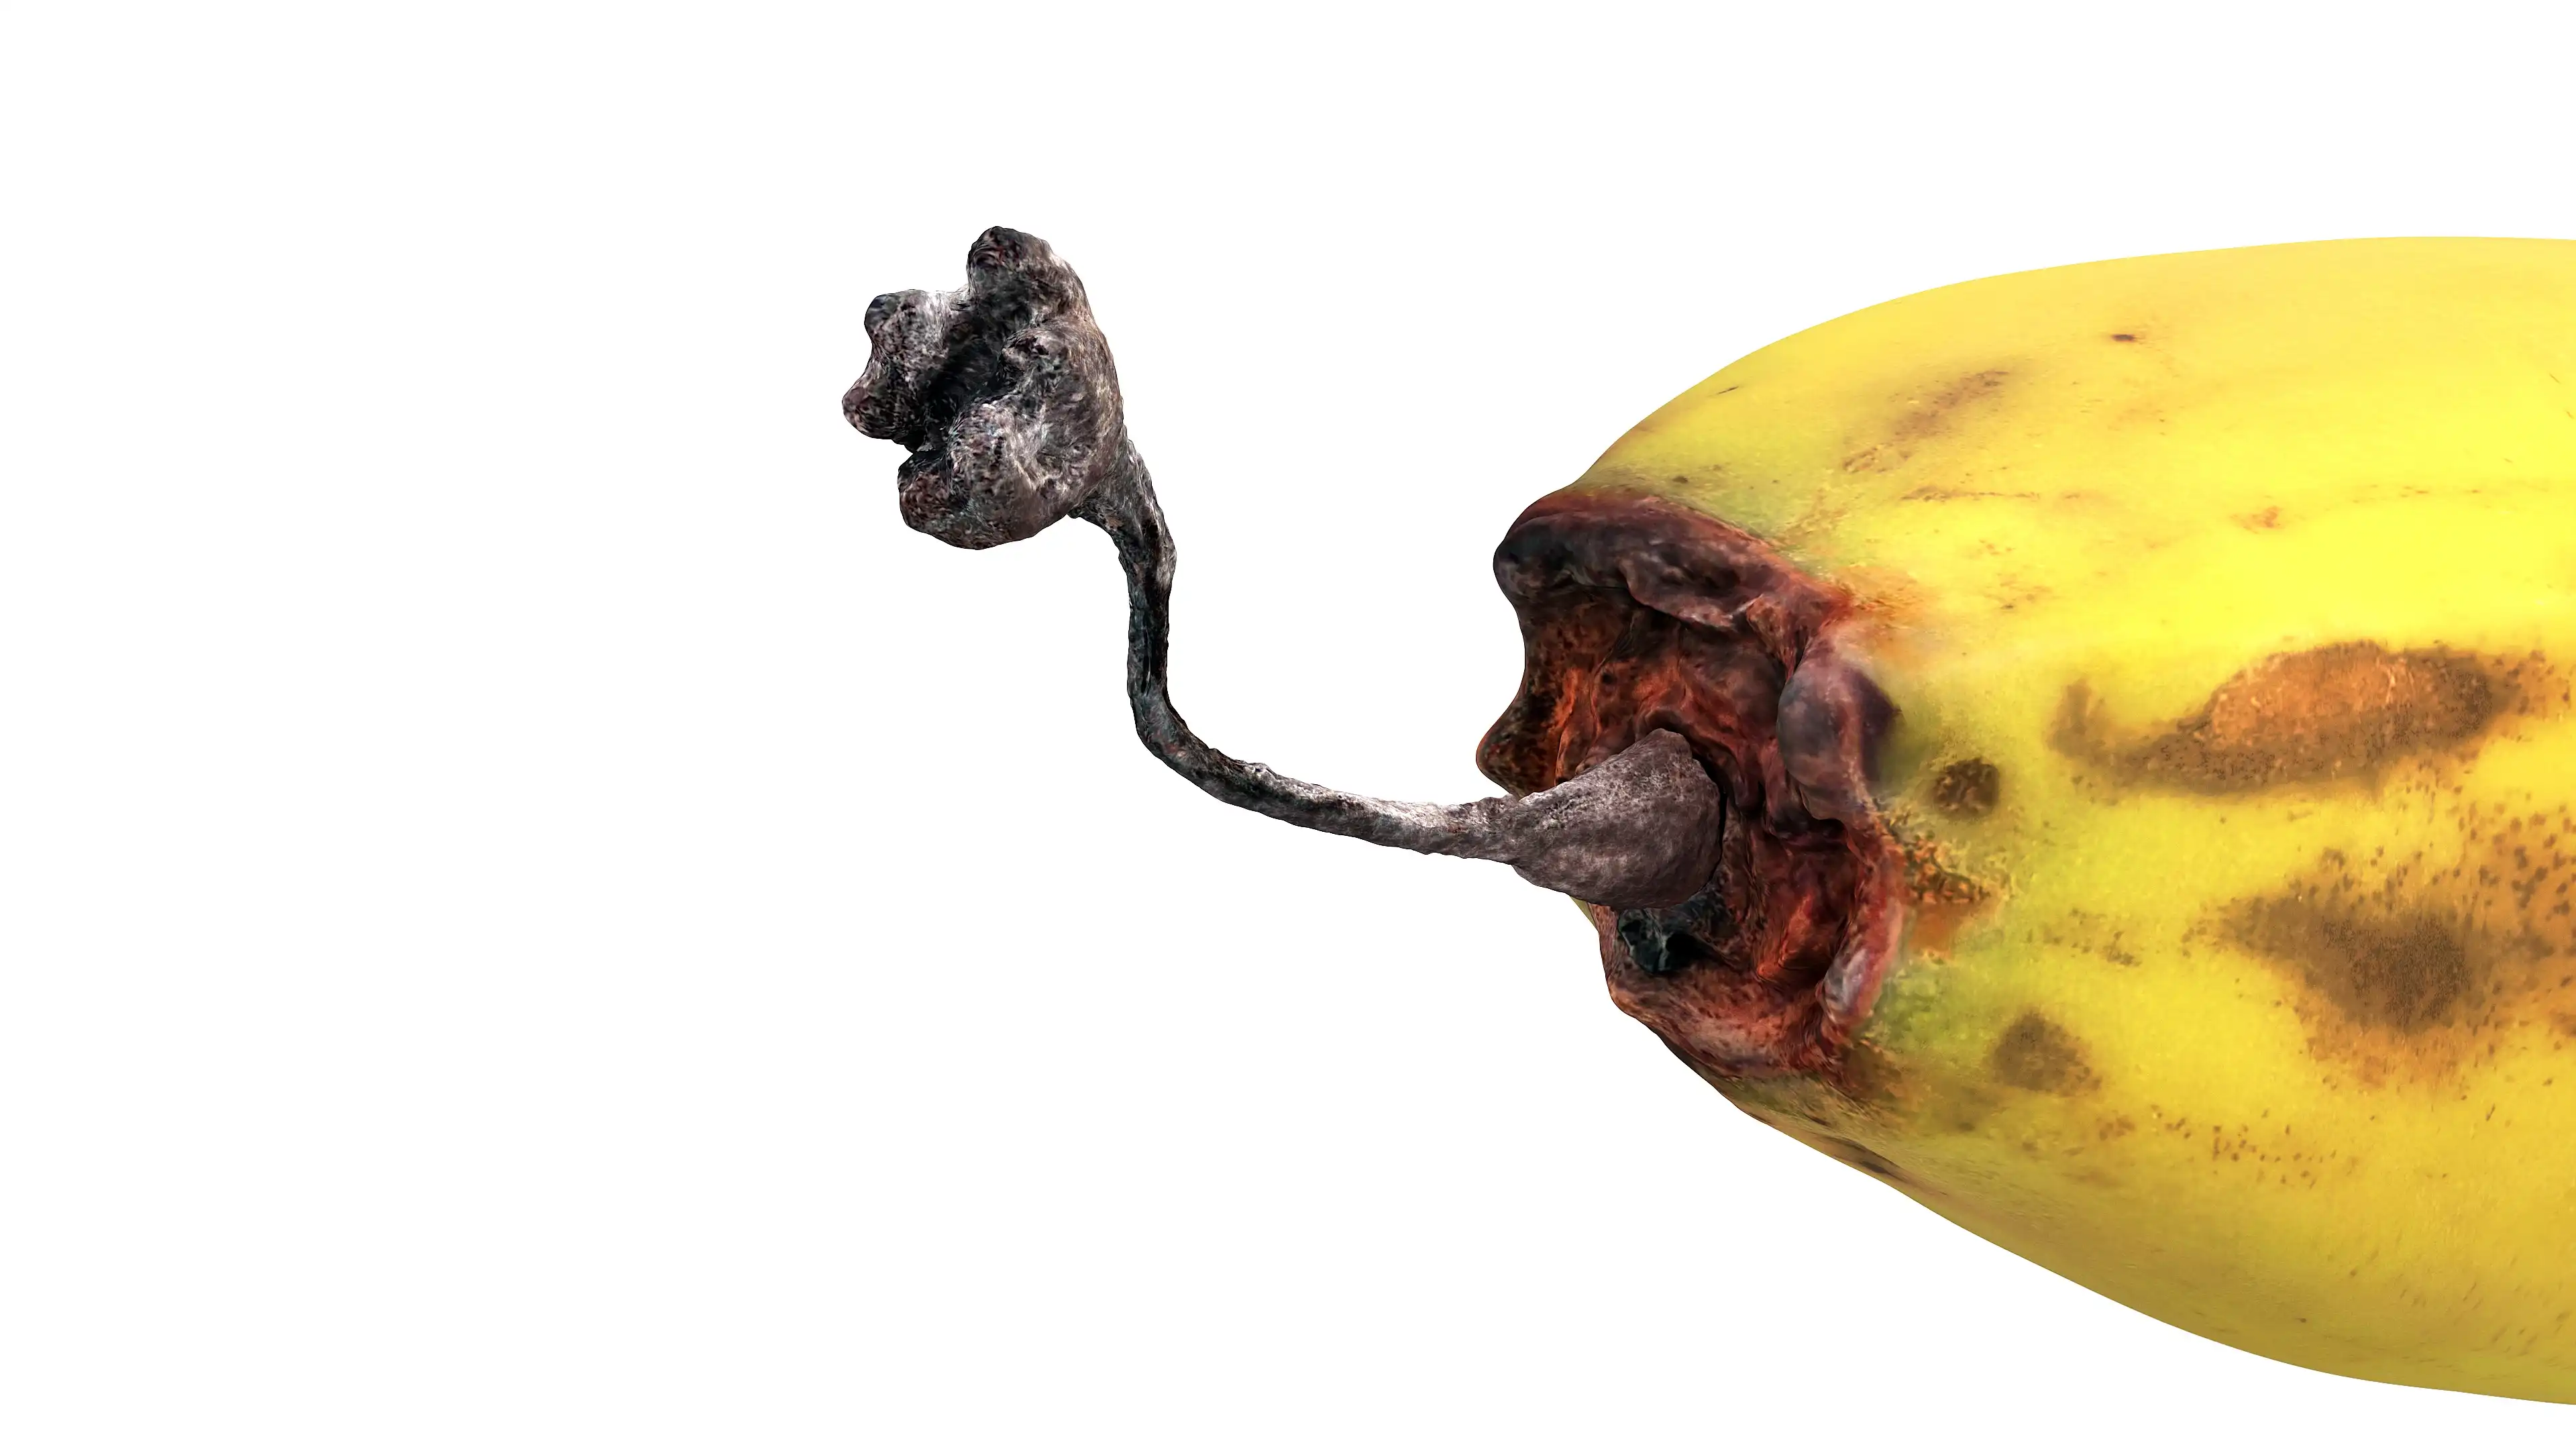
The banana peel 3d model also has a dry banana flower attached to one of the sections. By the way, this is a very cool and realistic detail. I never thought that banana fruits had flowers until I casually saw Ecuadorian bananas among others, with these dried flowers in one of the grocery stores. The 3d scan of one of them became a volumetric reference for the geometry and textures of this 3d model. For those who have also never seen these dry flowers up close, here is the closeup render:
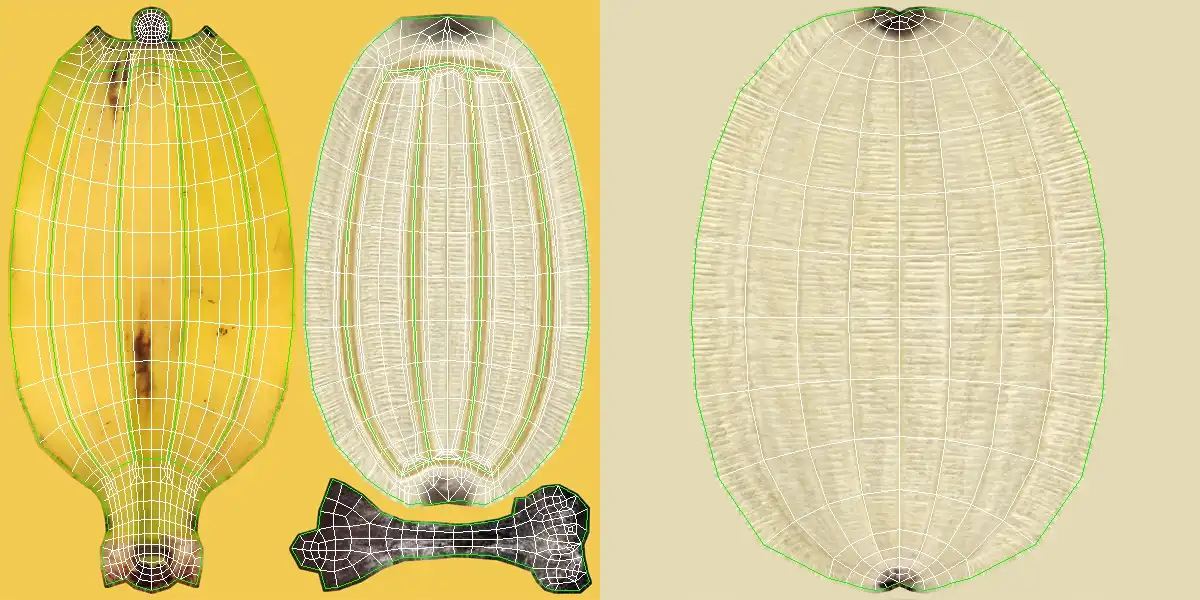
The trickiest part of the model is the banana peel UV islands planning. As you can see, the outer rind and the inner pith UV islands seams outline are completely identical. It allows achieving the texture seamlessness between the rind and pith on all banana peel 3d model segments. Even more, the edge-on-edge layout of all outer rind islands, make possible to weld banana rind segments geometry into one closed model without any seams on resulting texture. For the 100% ideal result, especially if you plan to do closeups on highly subdivided model, the corresponding vertex on unwrap can be welded too, but it is not necessary in most cases. The described approach makes this model of banana truly unique and truly versatile.
The original model was created in 3ds Max and contains numbers of modifiers in modifiers stack. Using these modifiers, you can easily peel-in and peel-out the banana 3d model. The main concept of how it works is the using volume selection modifier and its ability to select geometry by black and white maps, the inner pith geometry partially selected, where the map is black. Then, on top of the selection, the geometry deletion modifier applied. Then, the vertex weld modifier applied. Since it welds the vertex of only the open edges geometry, the outer rind is fused just where the inner pith was deleted. The black and white map is just a standard parametric black and white gradient(Gradient Ramp, it can be located at the Environment slot of VRayMtl material of the peel). Moving this map over the banana model, you can automatically delete the inner pith and fuse the outer rind. The UVW Map modifier with Map Channel 2, to not interfere with the main maps on channel 1, is used to control the black and white gradient placement. The rest of the modifier is the segment selection and bend modifiers pairs, literally the Poly Select and Bend modifiers. They used to select and bend segments. To do not affect fused parts of the segments, the Limit Effect option of Bend modifiers is used.
If you are not a 3ds Max user, you can make a similar construction over the banana 3d model base mesh in a 3D editor of your choice, if it has the ability to produce sophisticated 3D animations. Basic principles the same all over the similar 3d packages. The banana 3d model base mesh in FBX and OBJ formats are provided for these purposes.
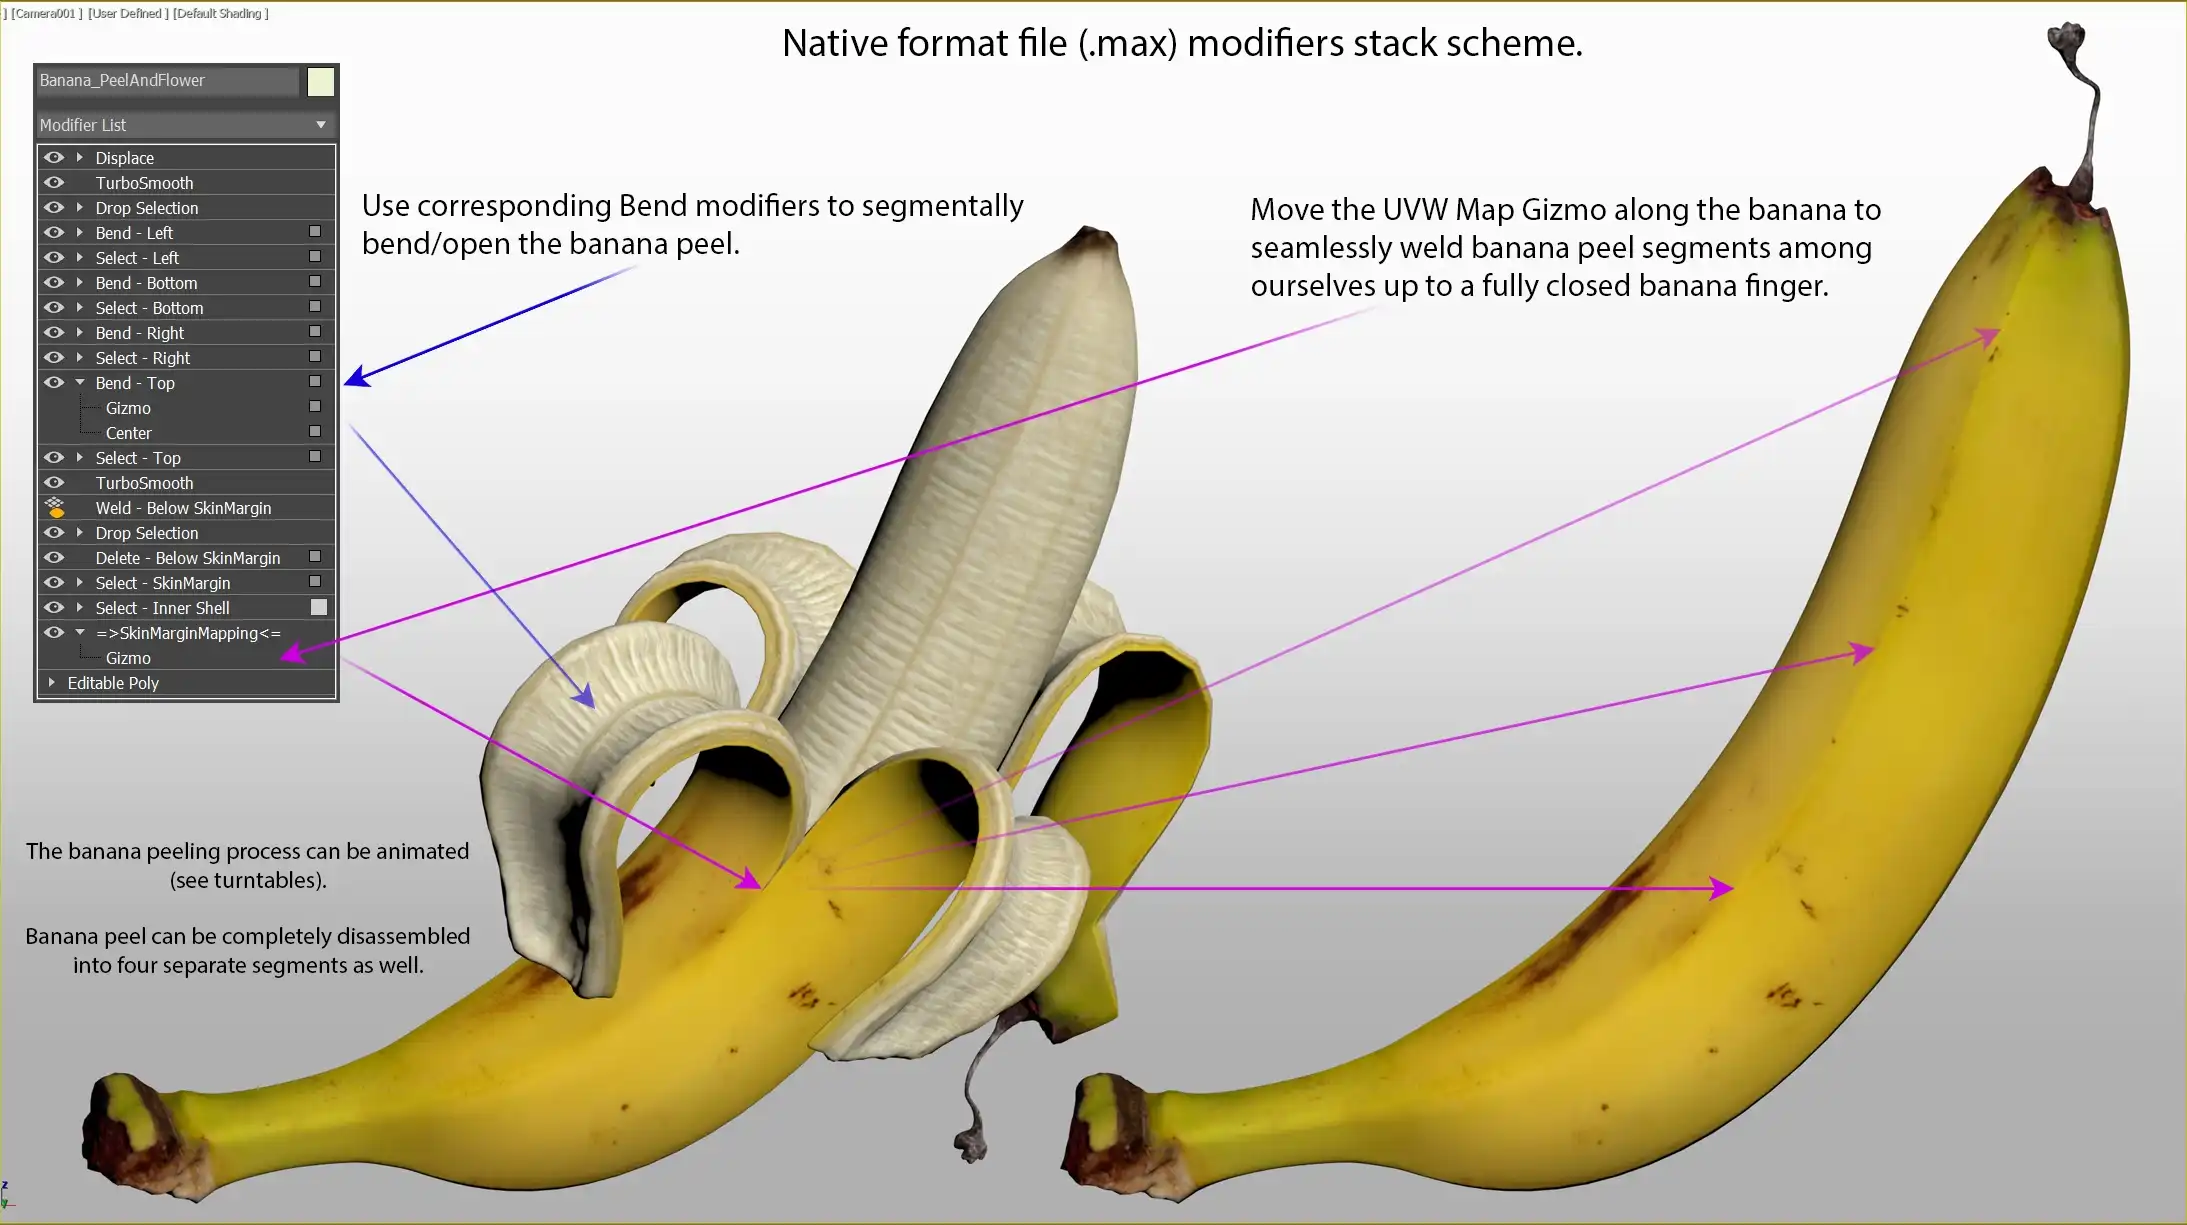
Of course, modifiers can also be animated. This allows you to create banana peel animations without the need for compositing over the seams of the peel. Everything can be done in pure 3D.
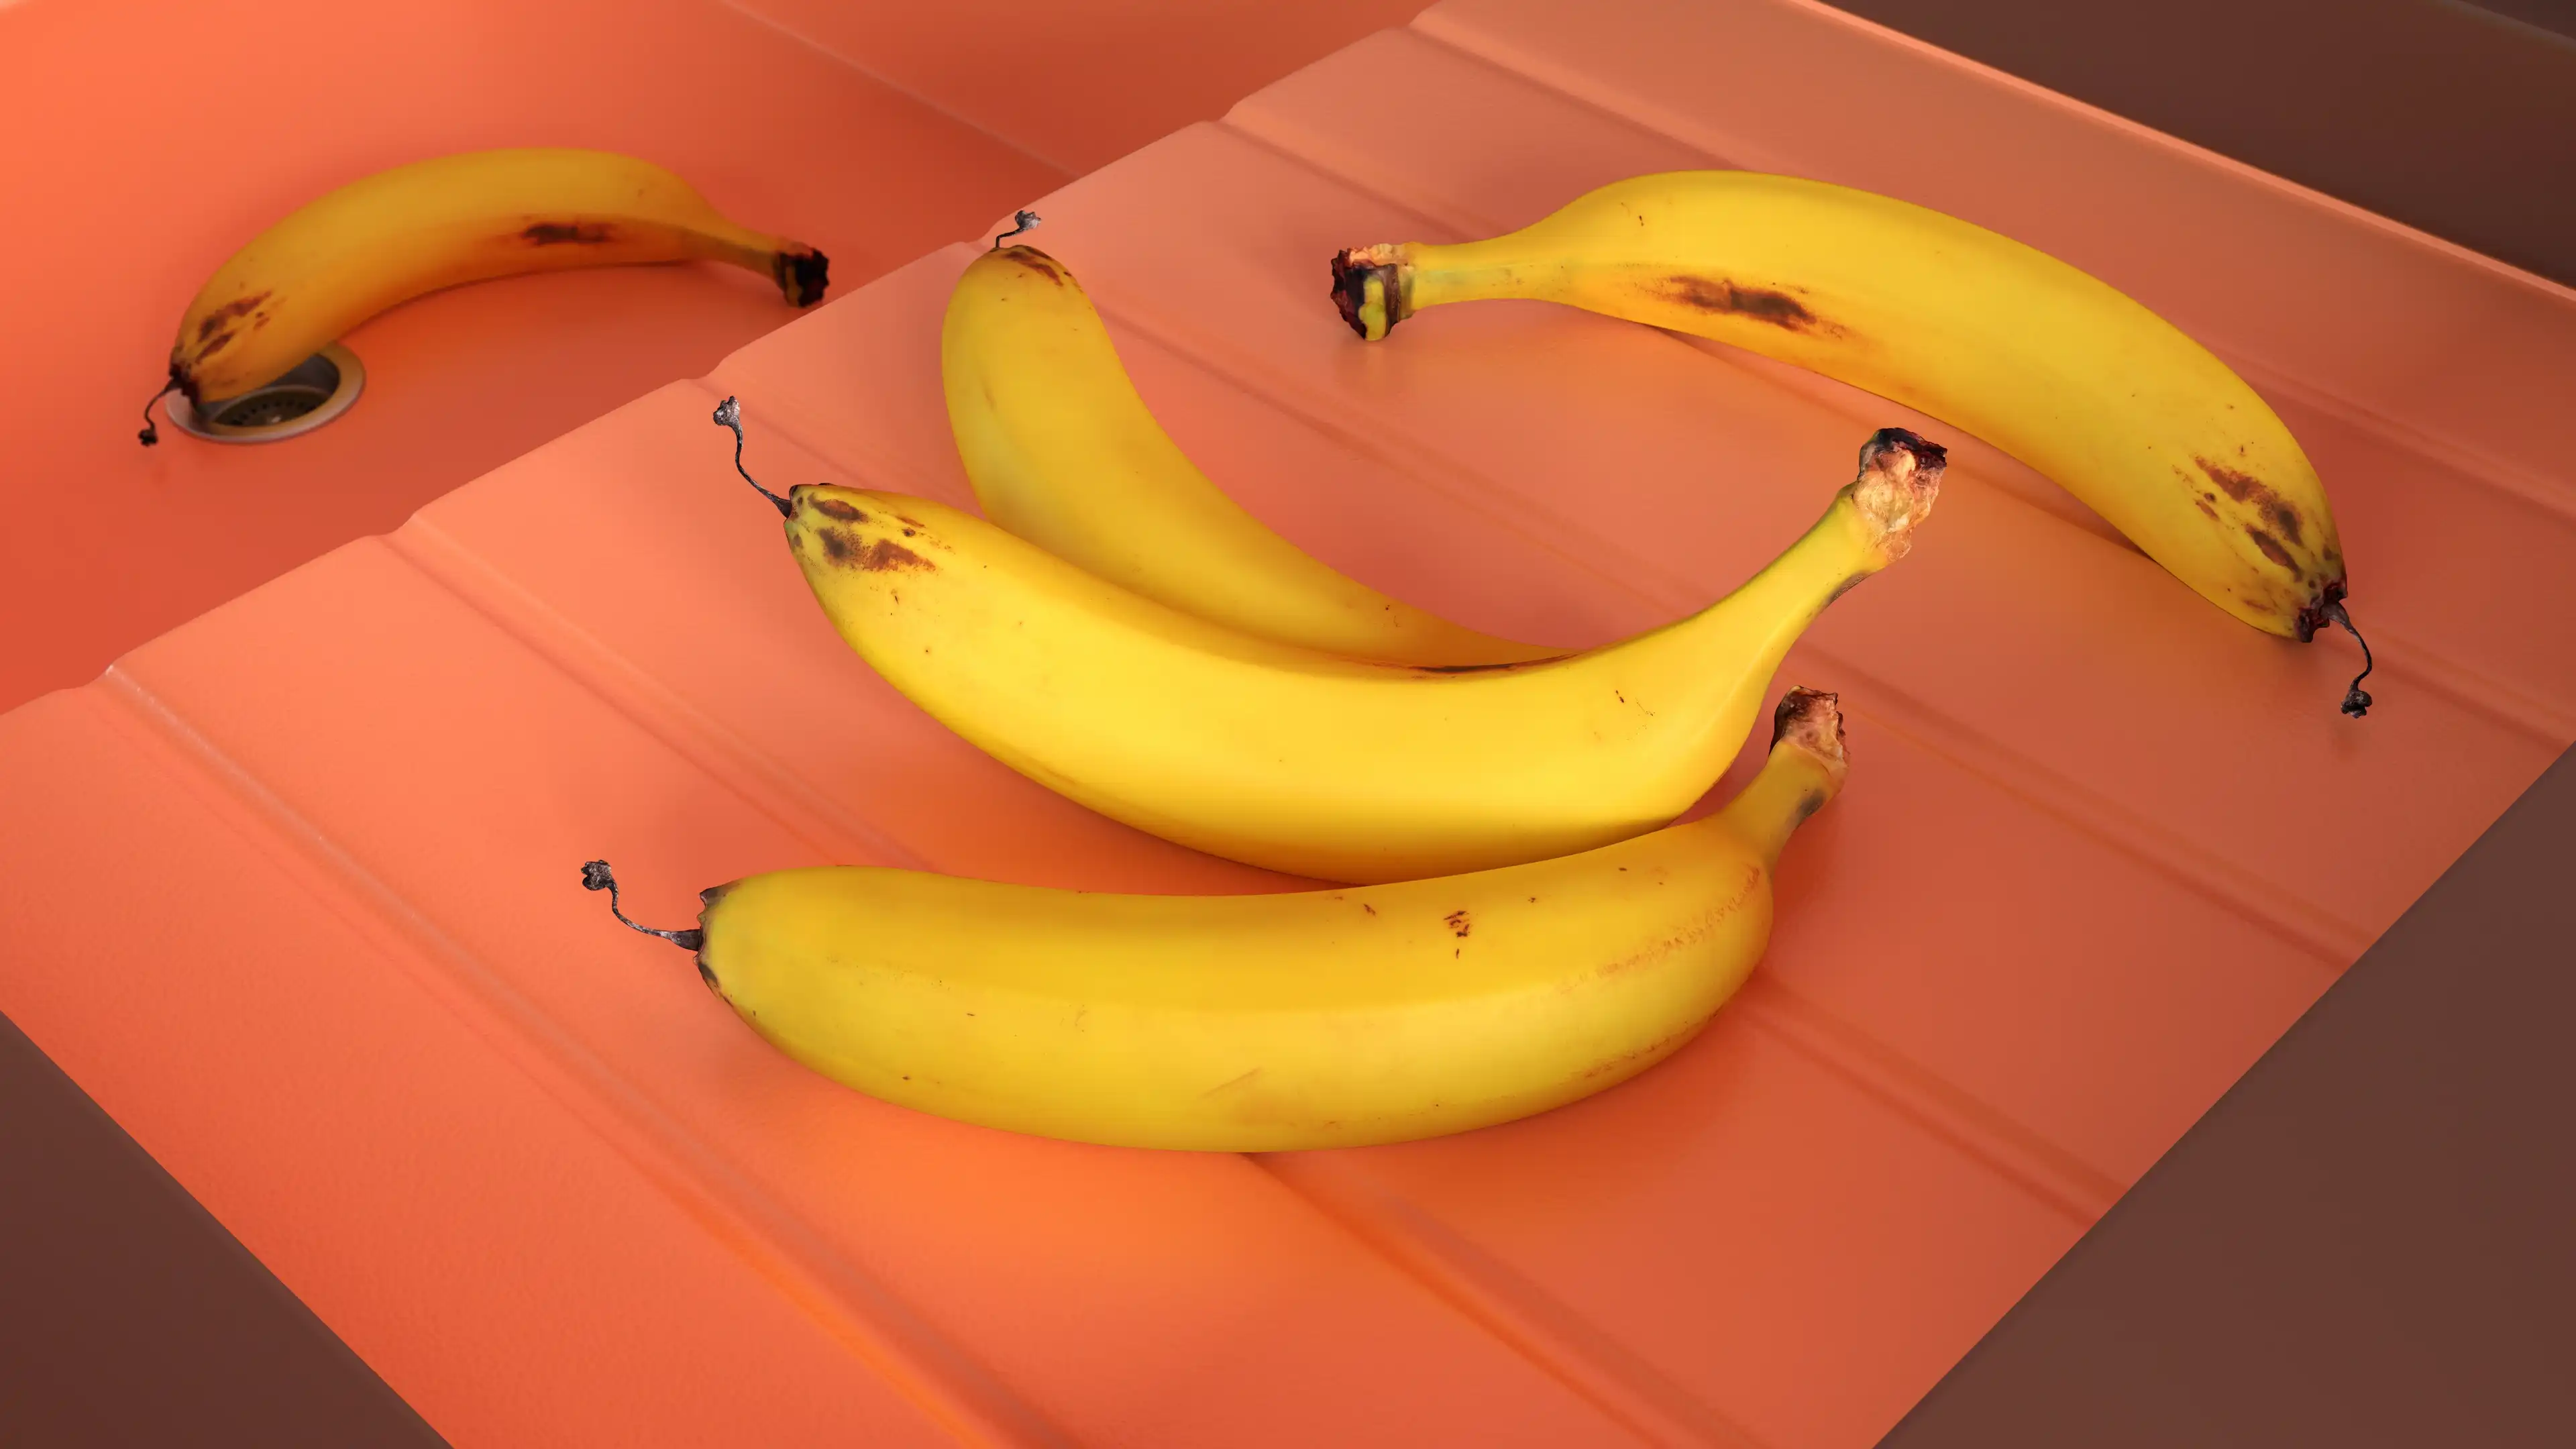
This banana 3d model can be used for many purposes and in a variety of environments. Add this banana asset into your scene and even a simple scatter of the bananas over the kitchen sink can bring a huge realism impact to the scene.
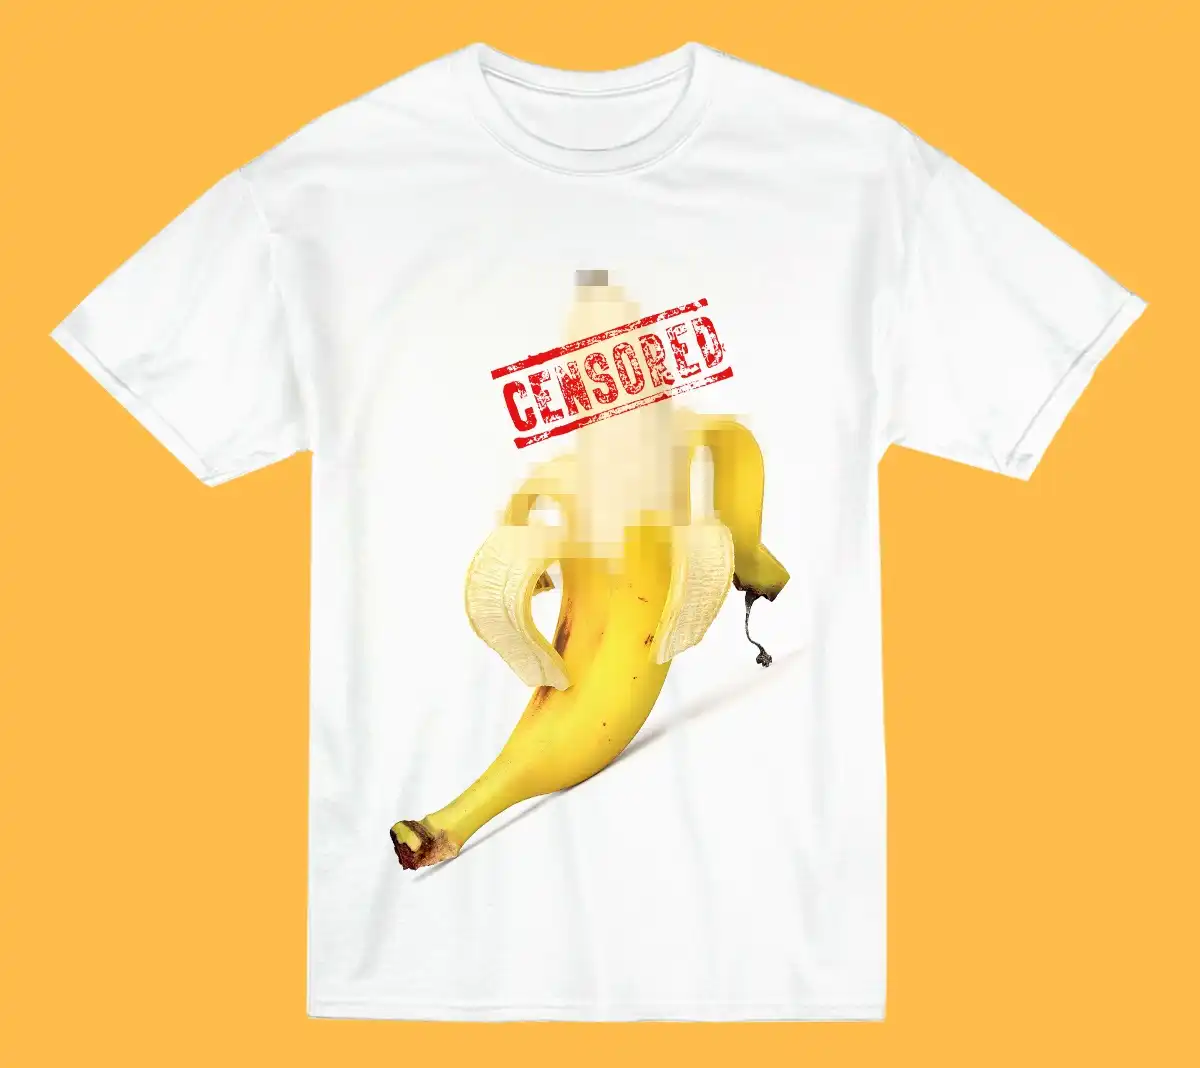
Need creative clipart for the advertising or printing industry purposes? The banana 3d model to the rescue. Creative print on T-shirt? No problem!
Below is the uncensored render of the banana and a series of wireframe renders in the same scene and at the same angle. Thus, you can evaluate the surface quality of a banana 3D model and see the behavior of its topology under different subdivision levels.

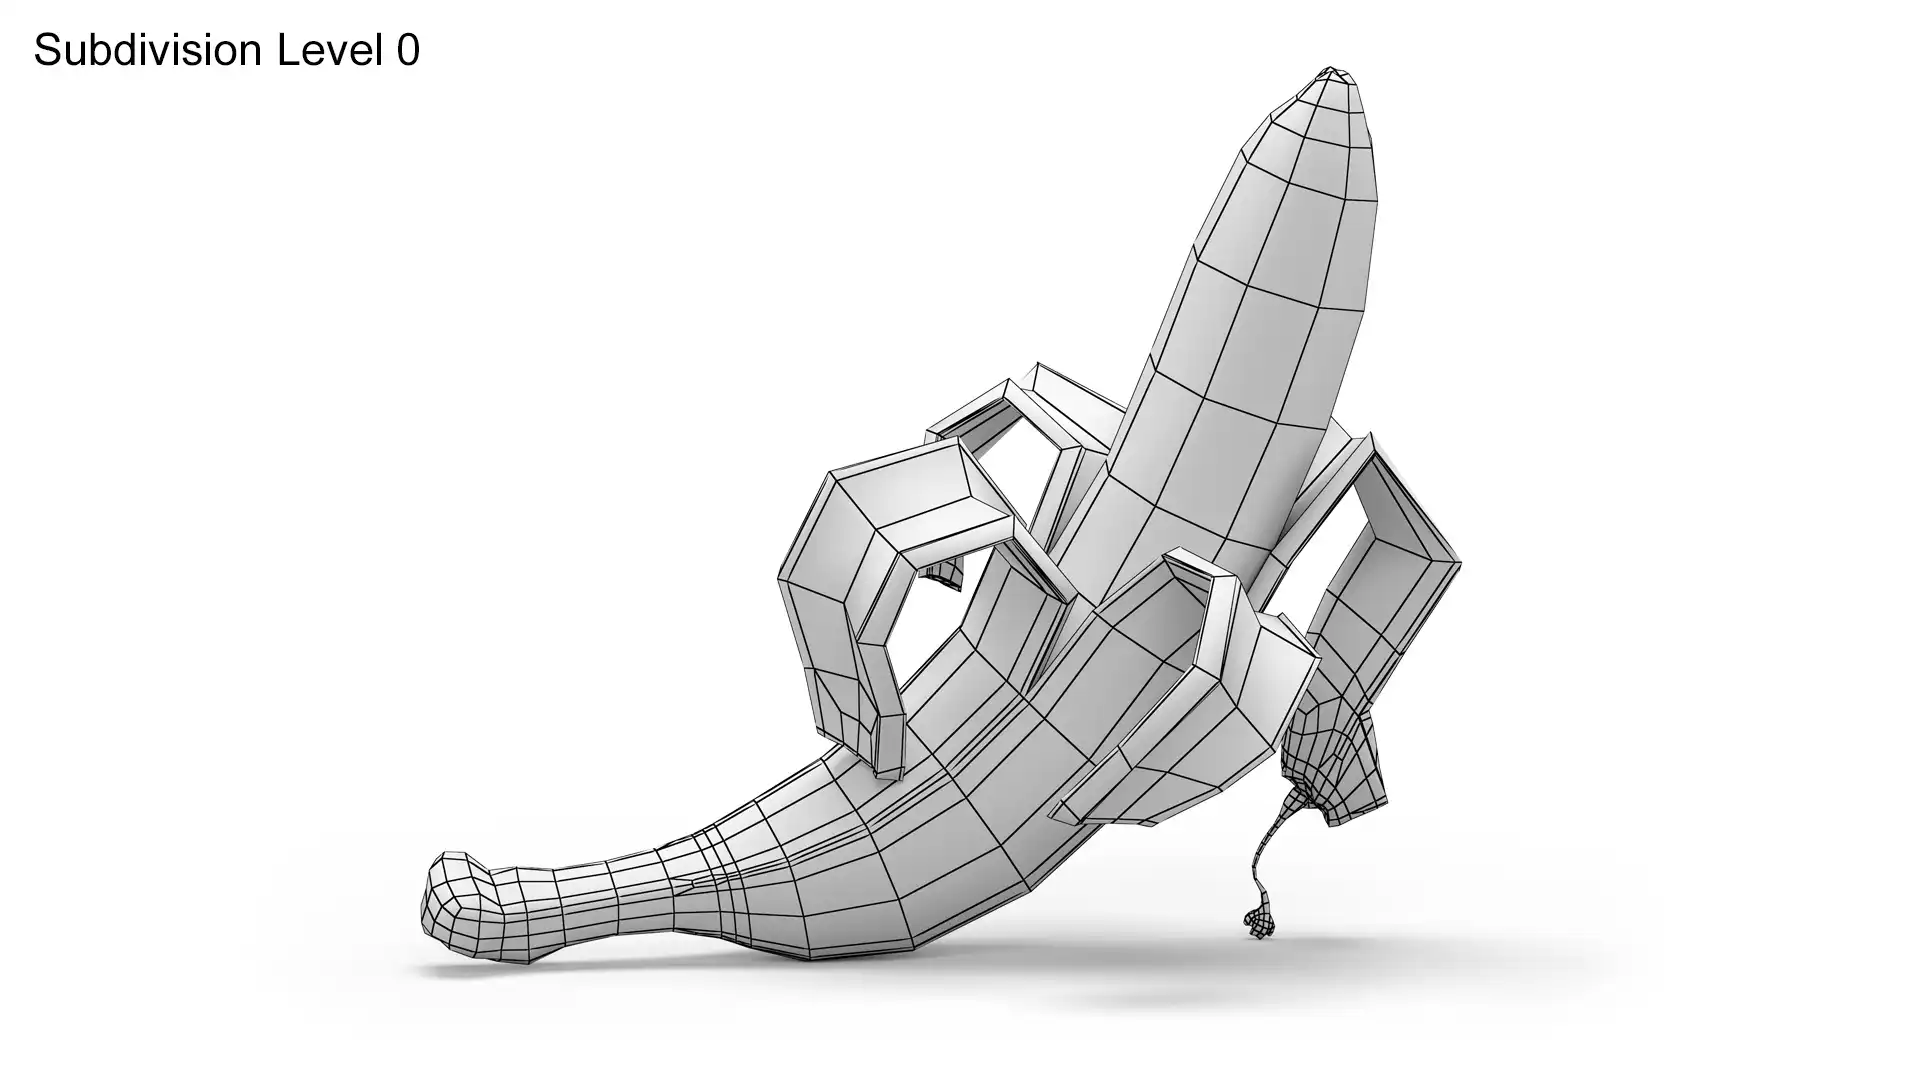
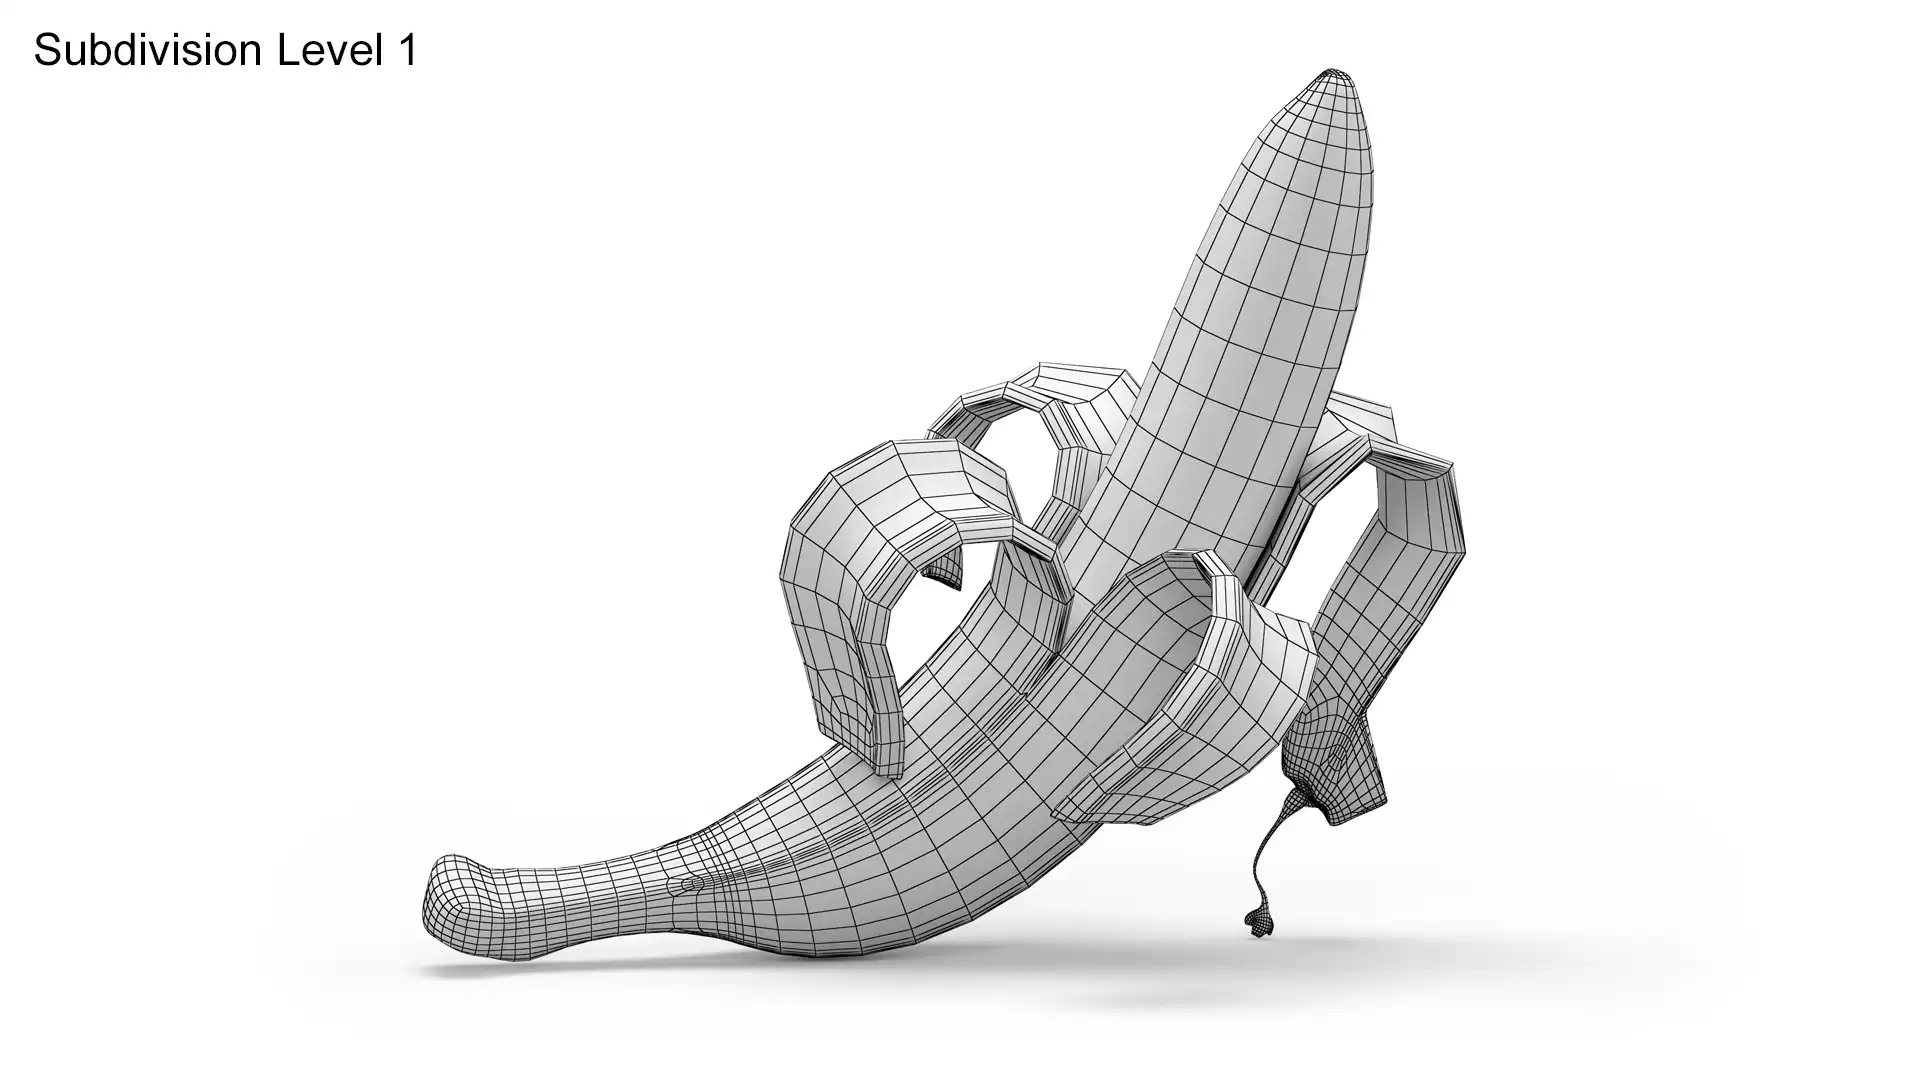
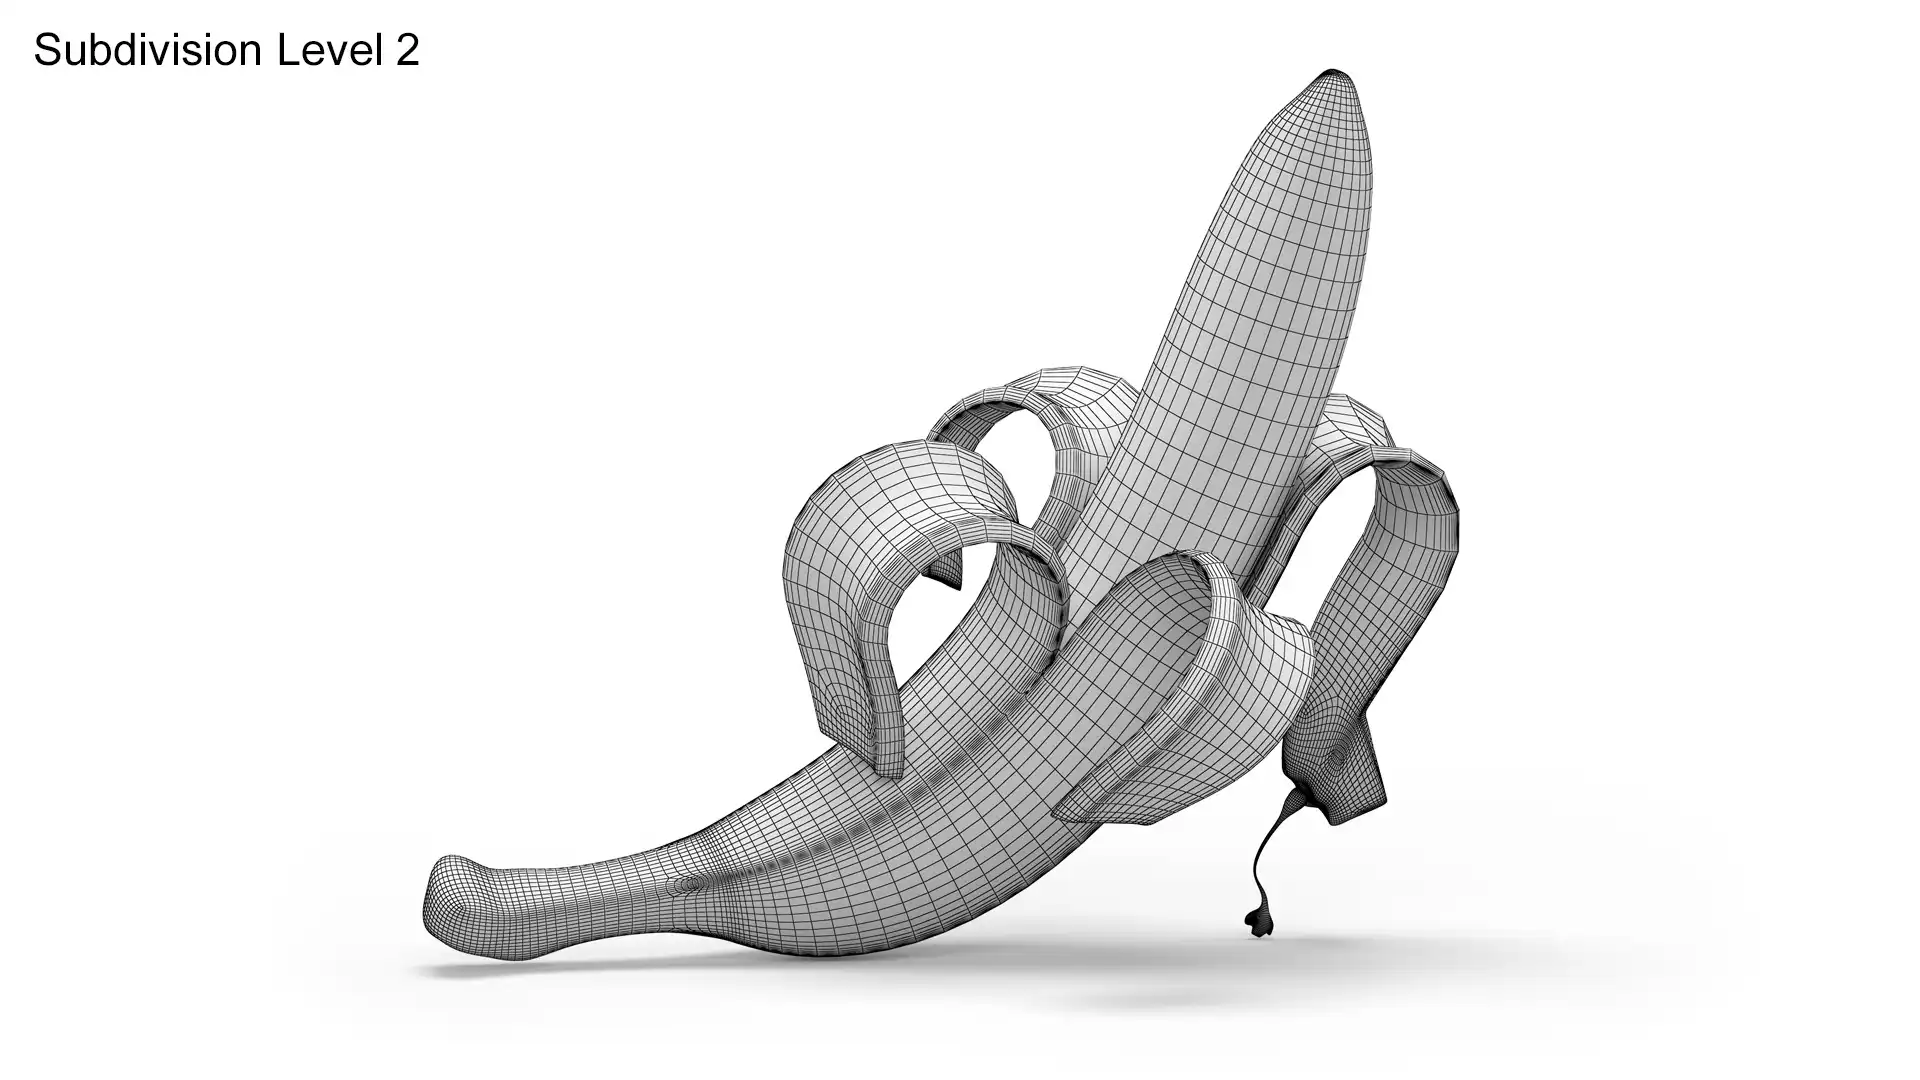
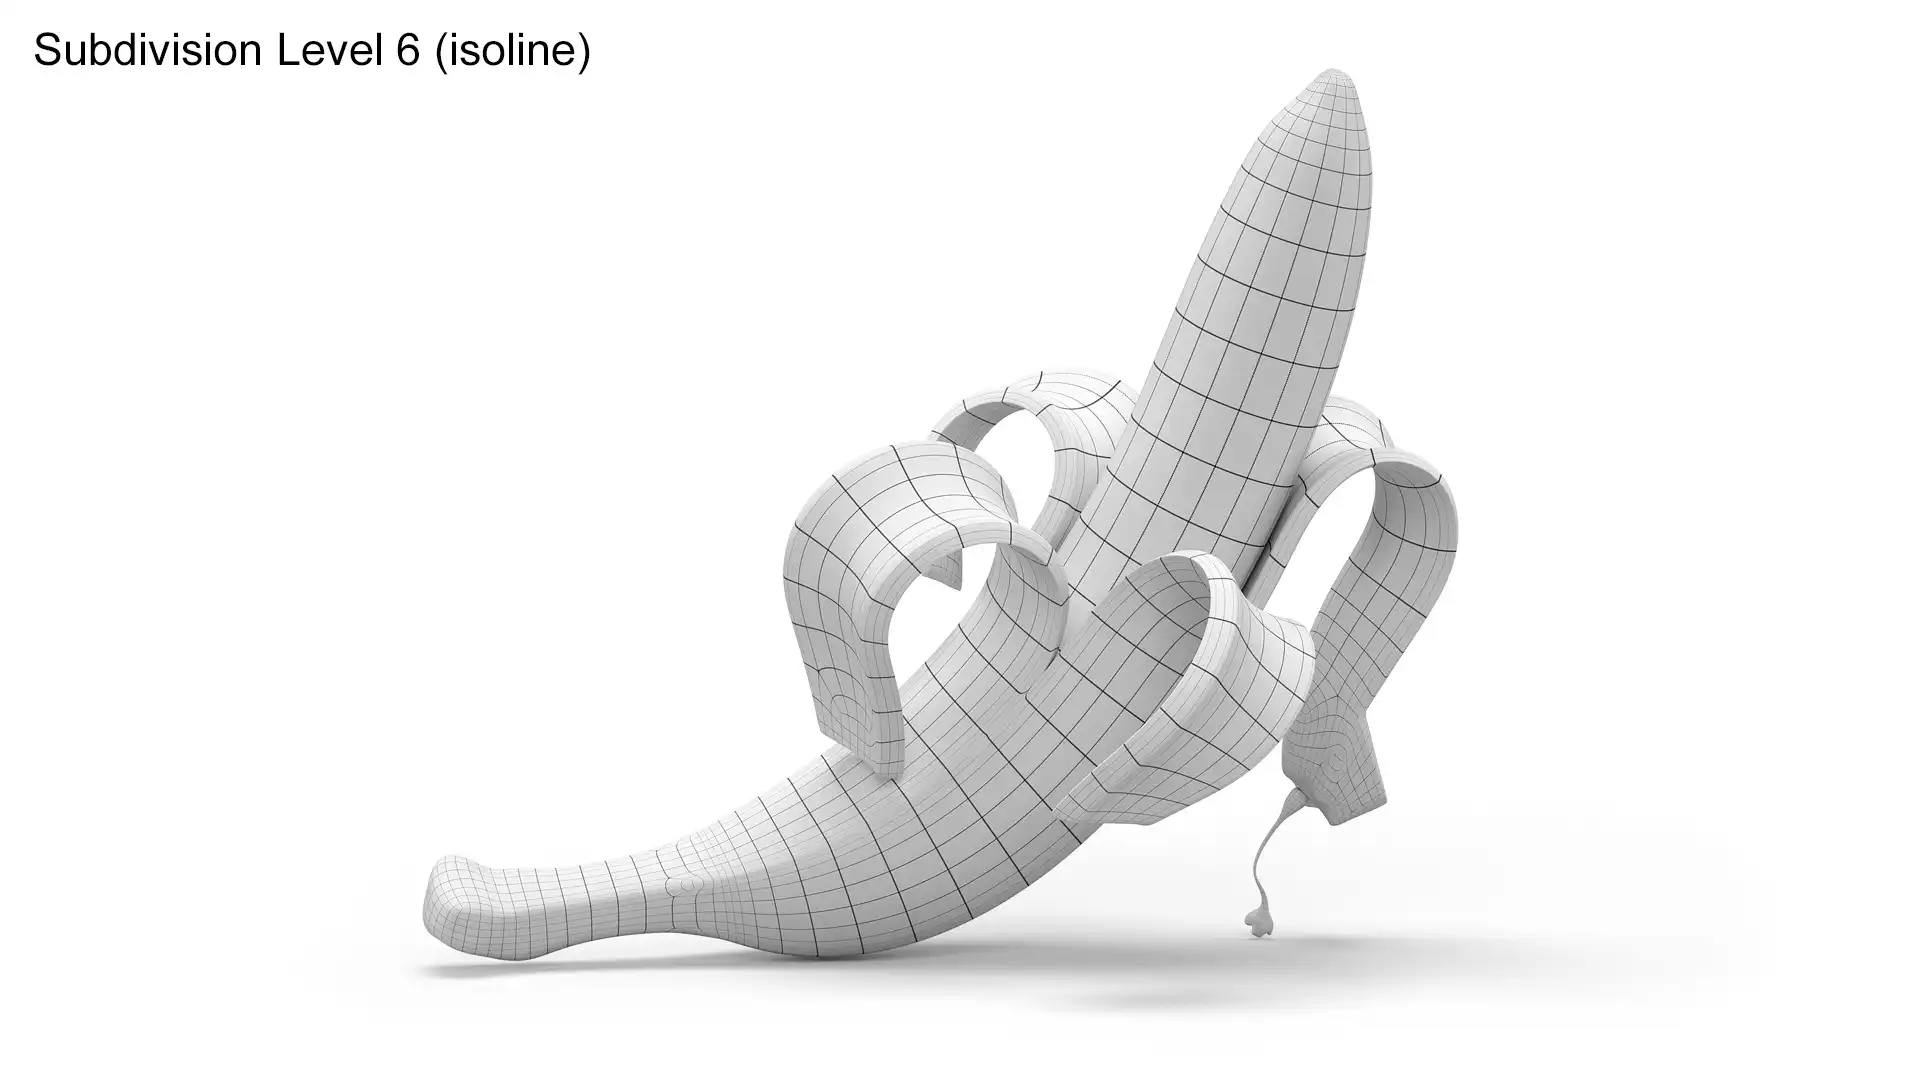
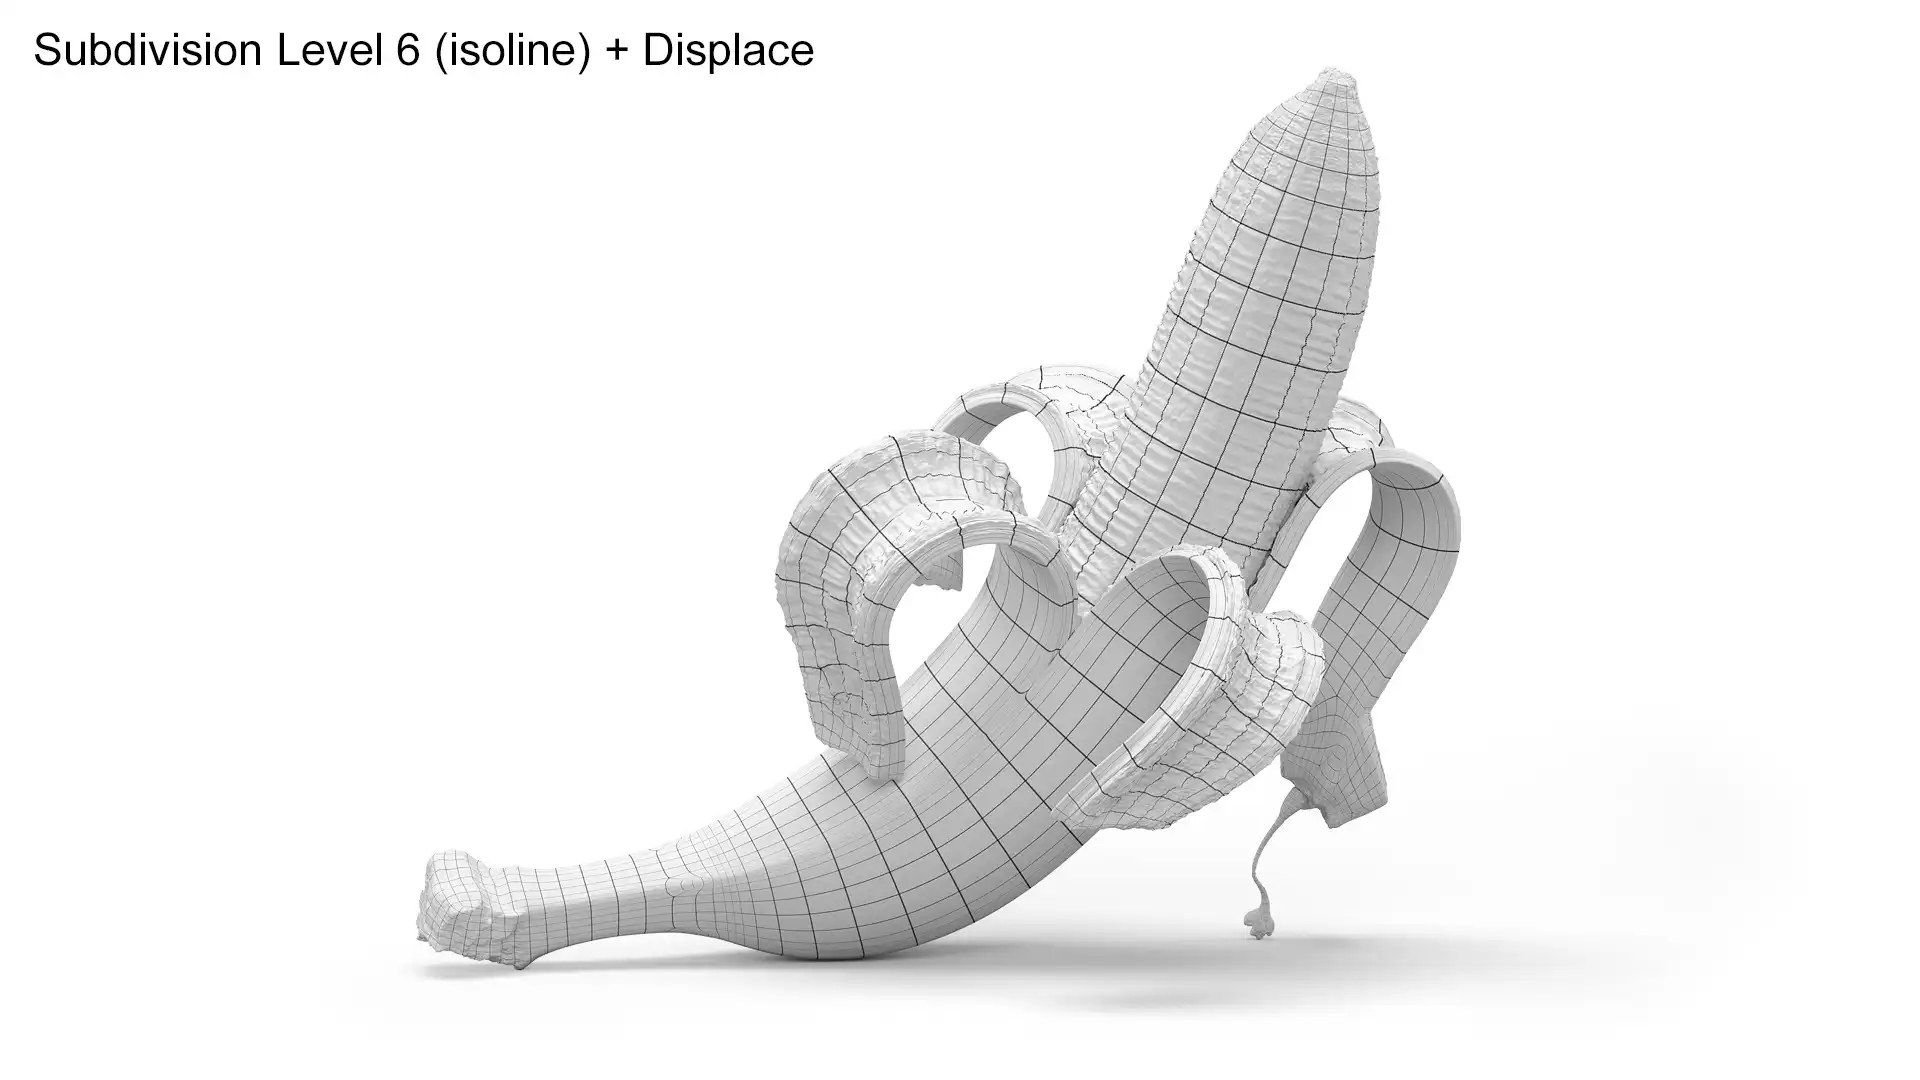
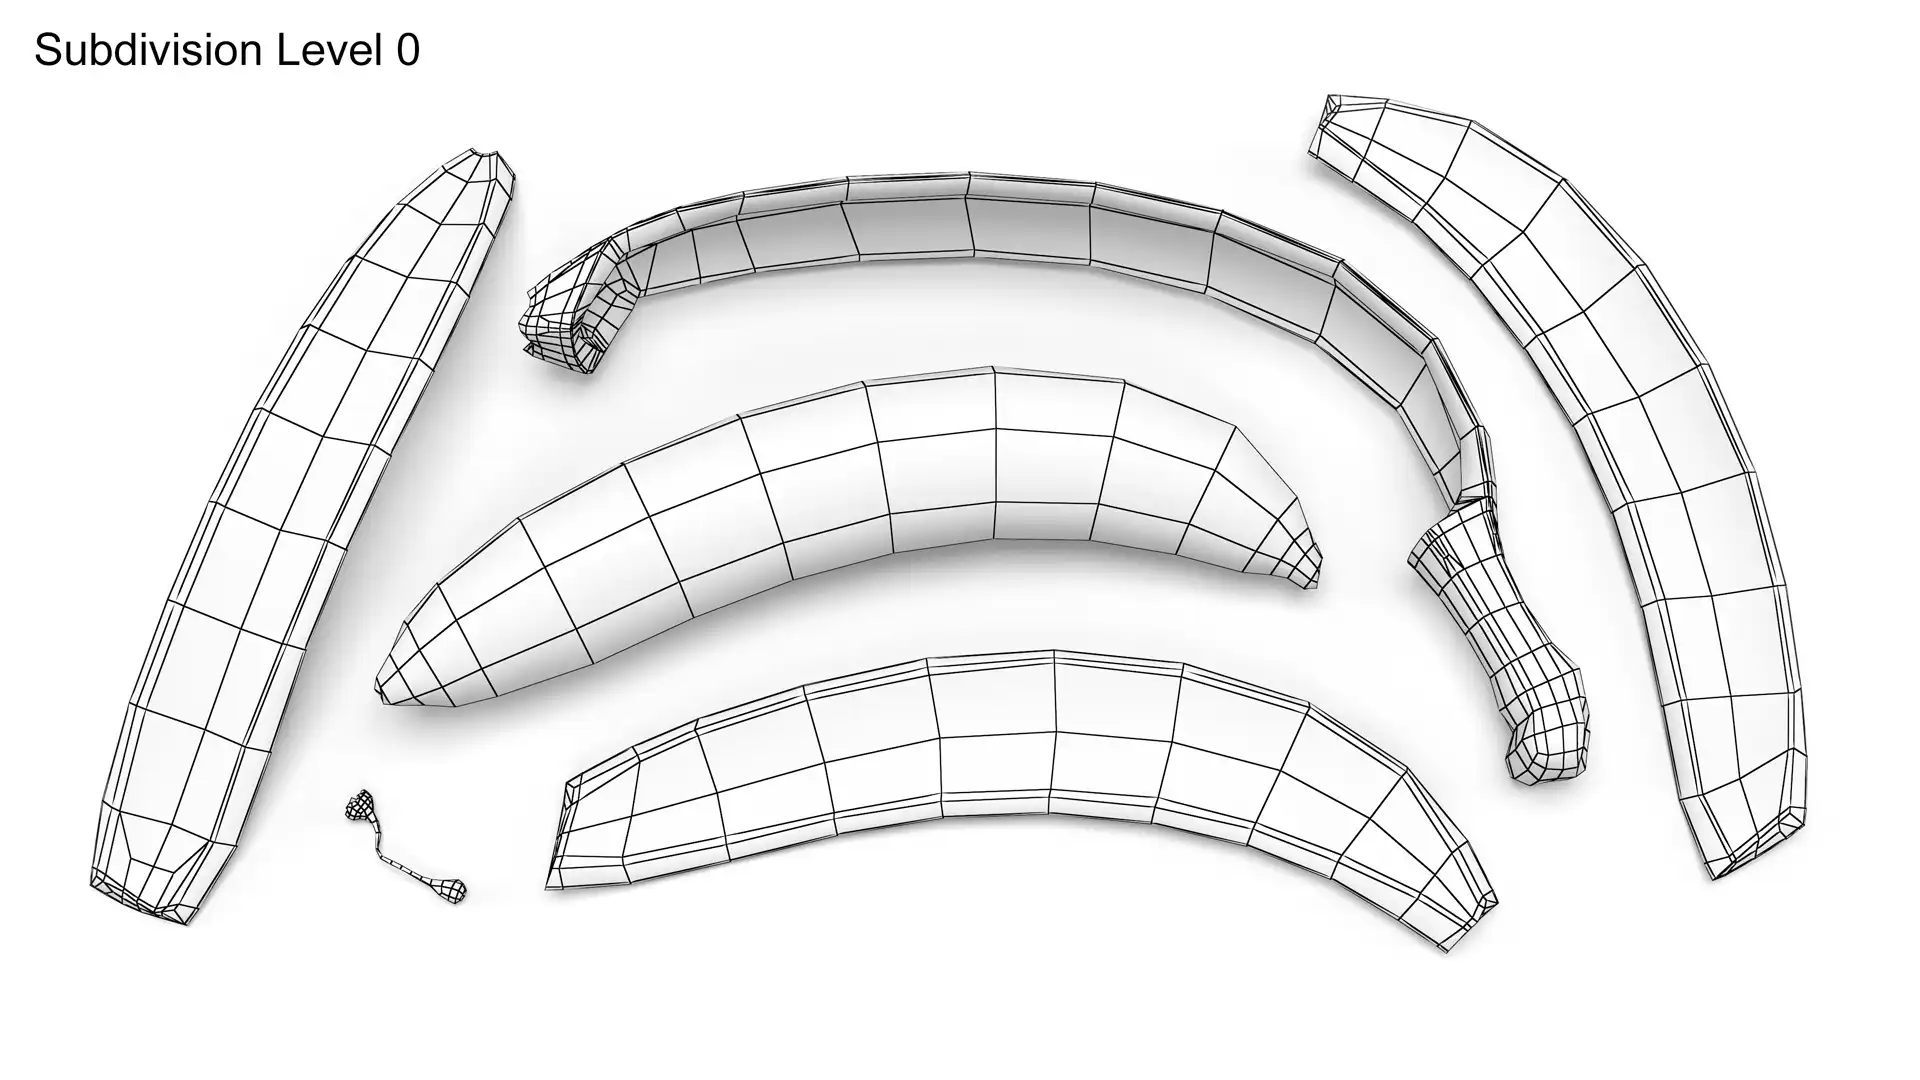
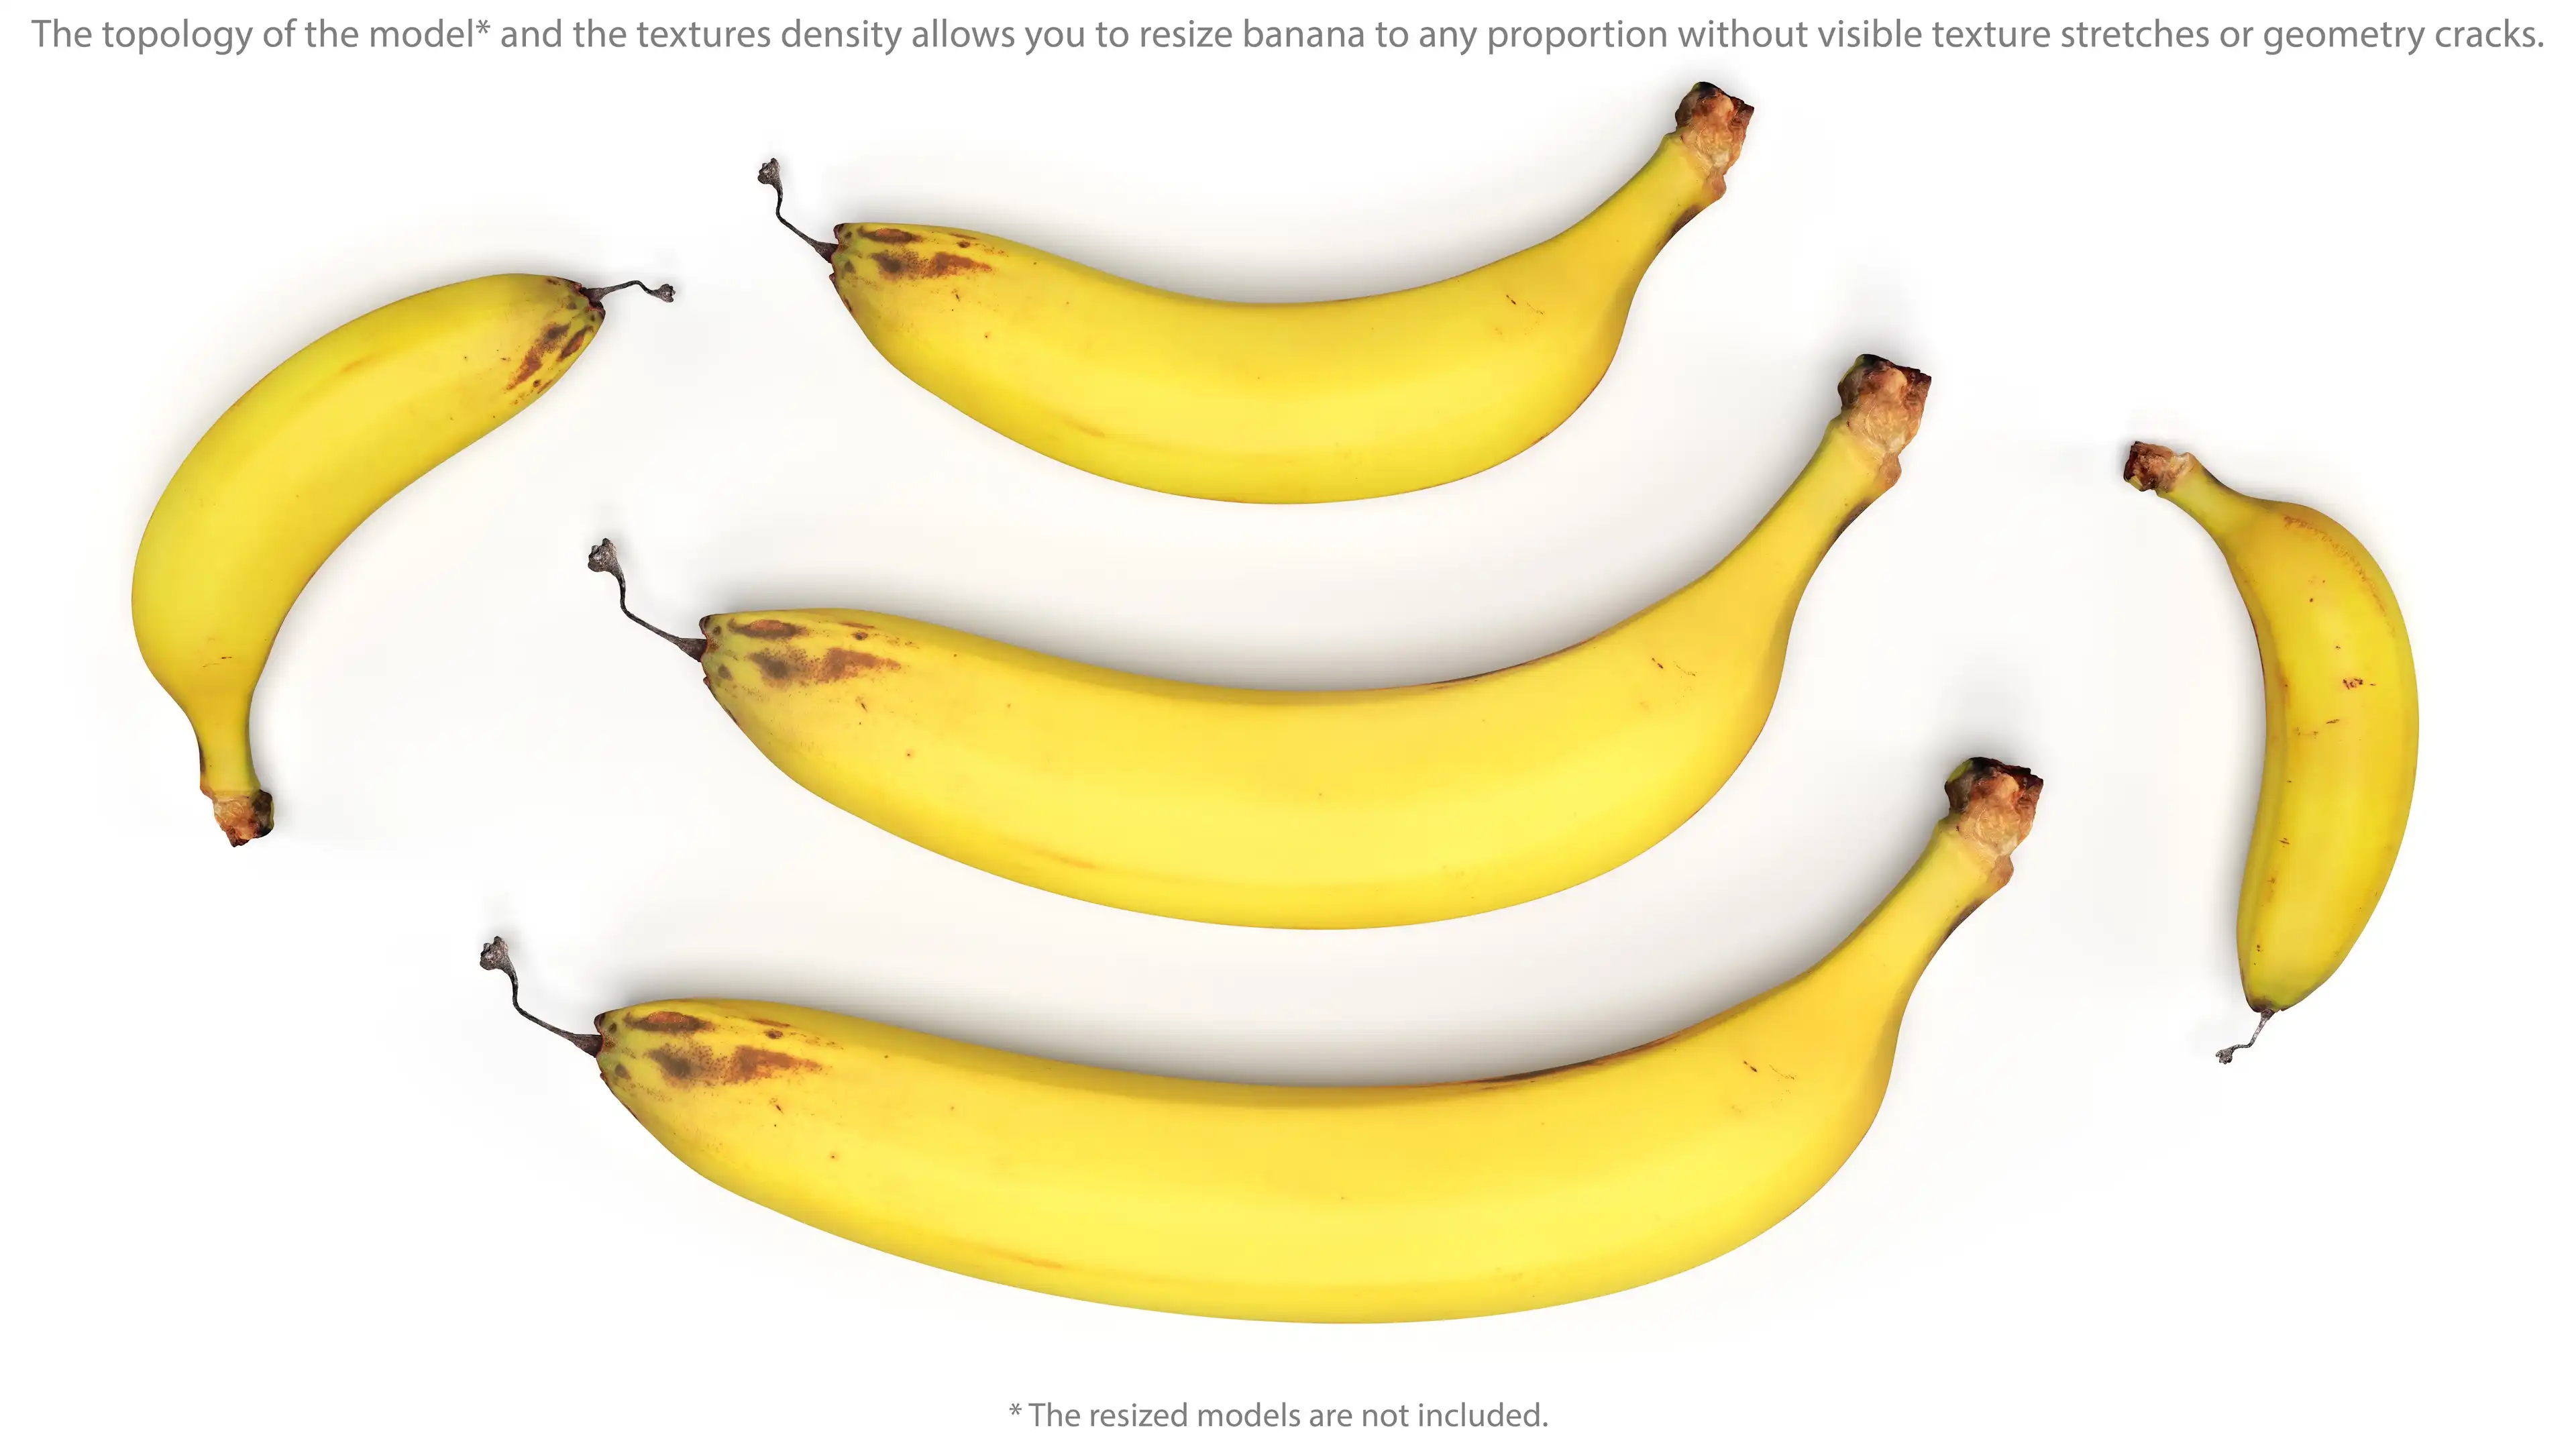
Excellent banana 3D model topology and its great texel density allow you to transform a banana to any size and proportions without noticeable distortion of the geometry or texture stretching.
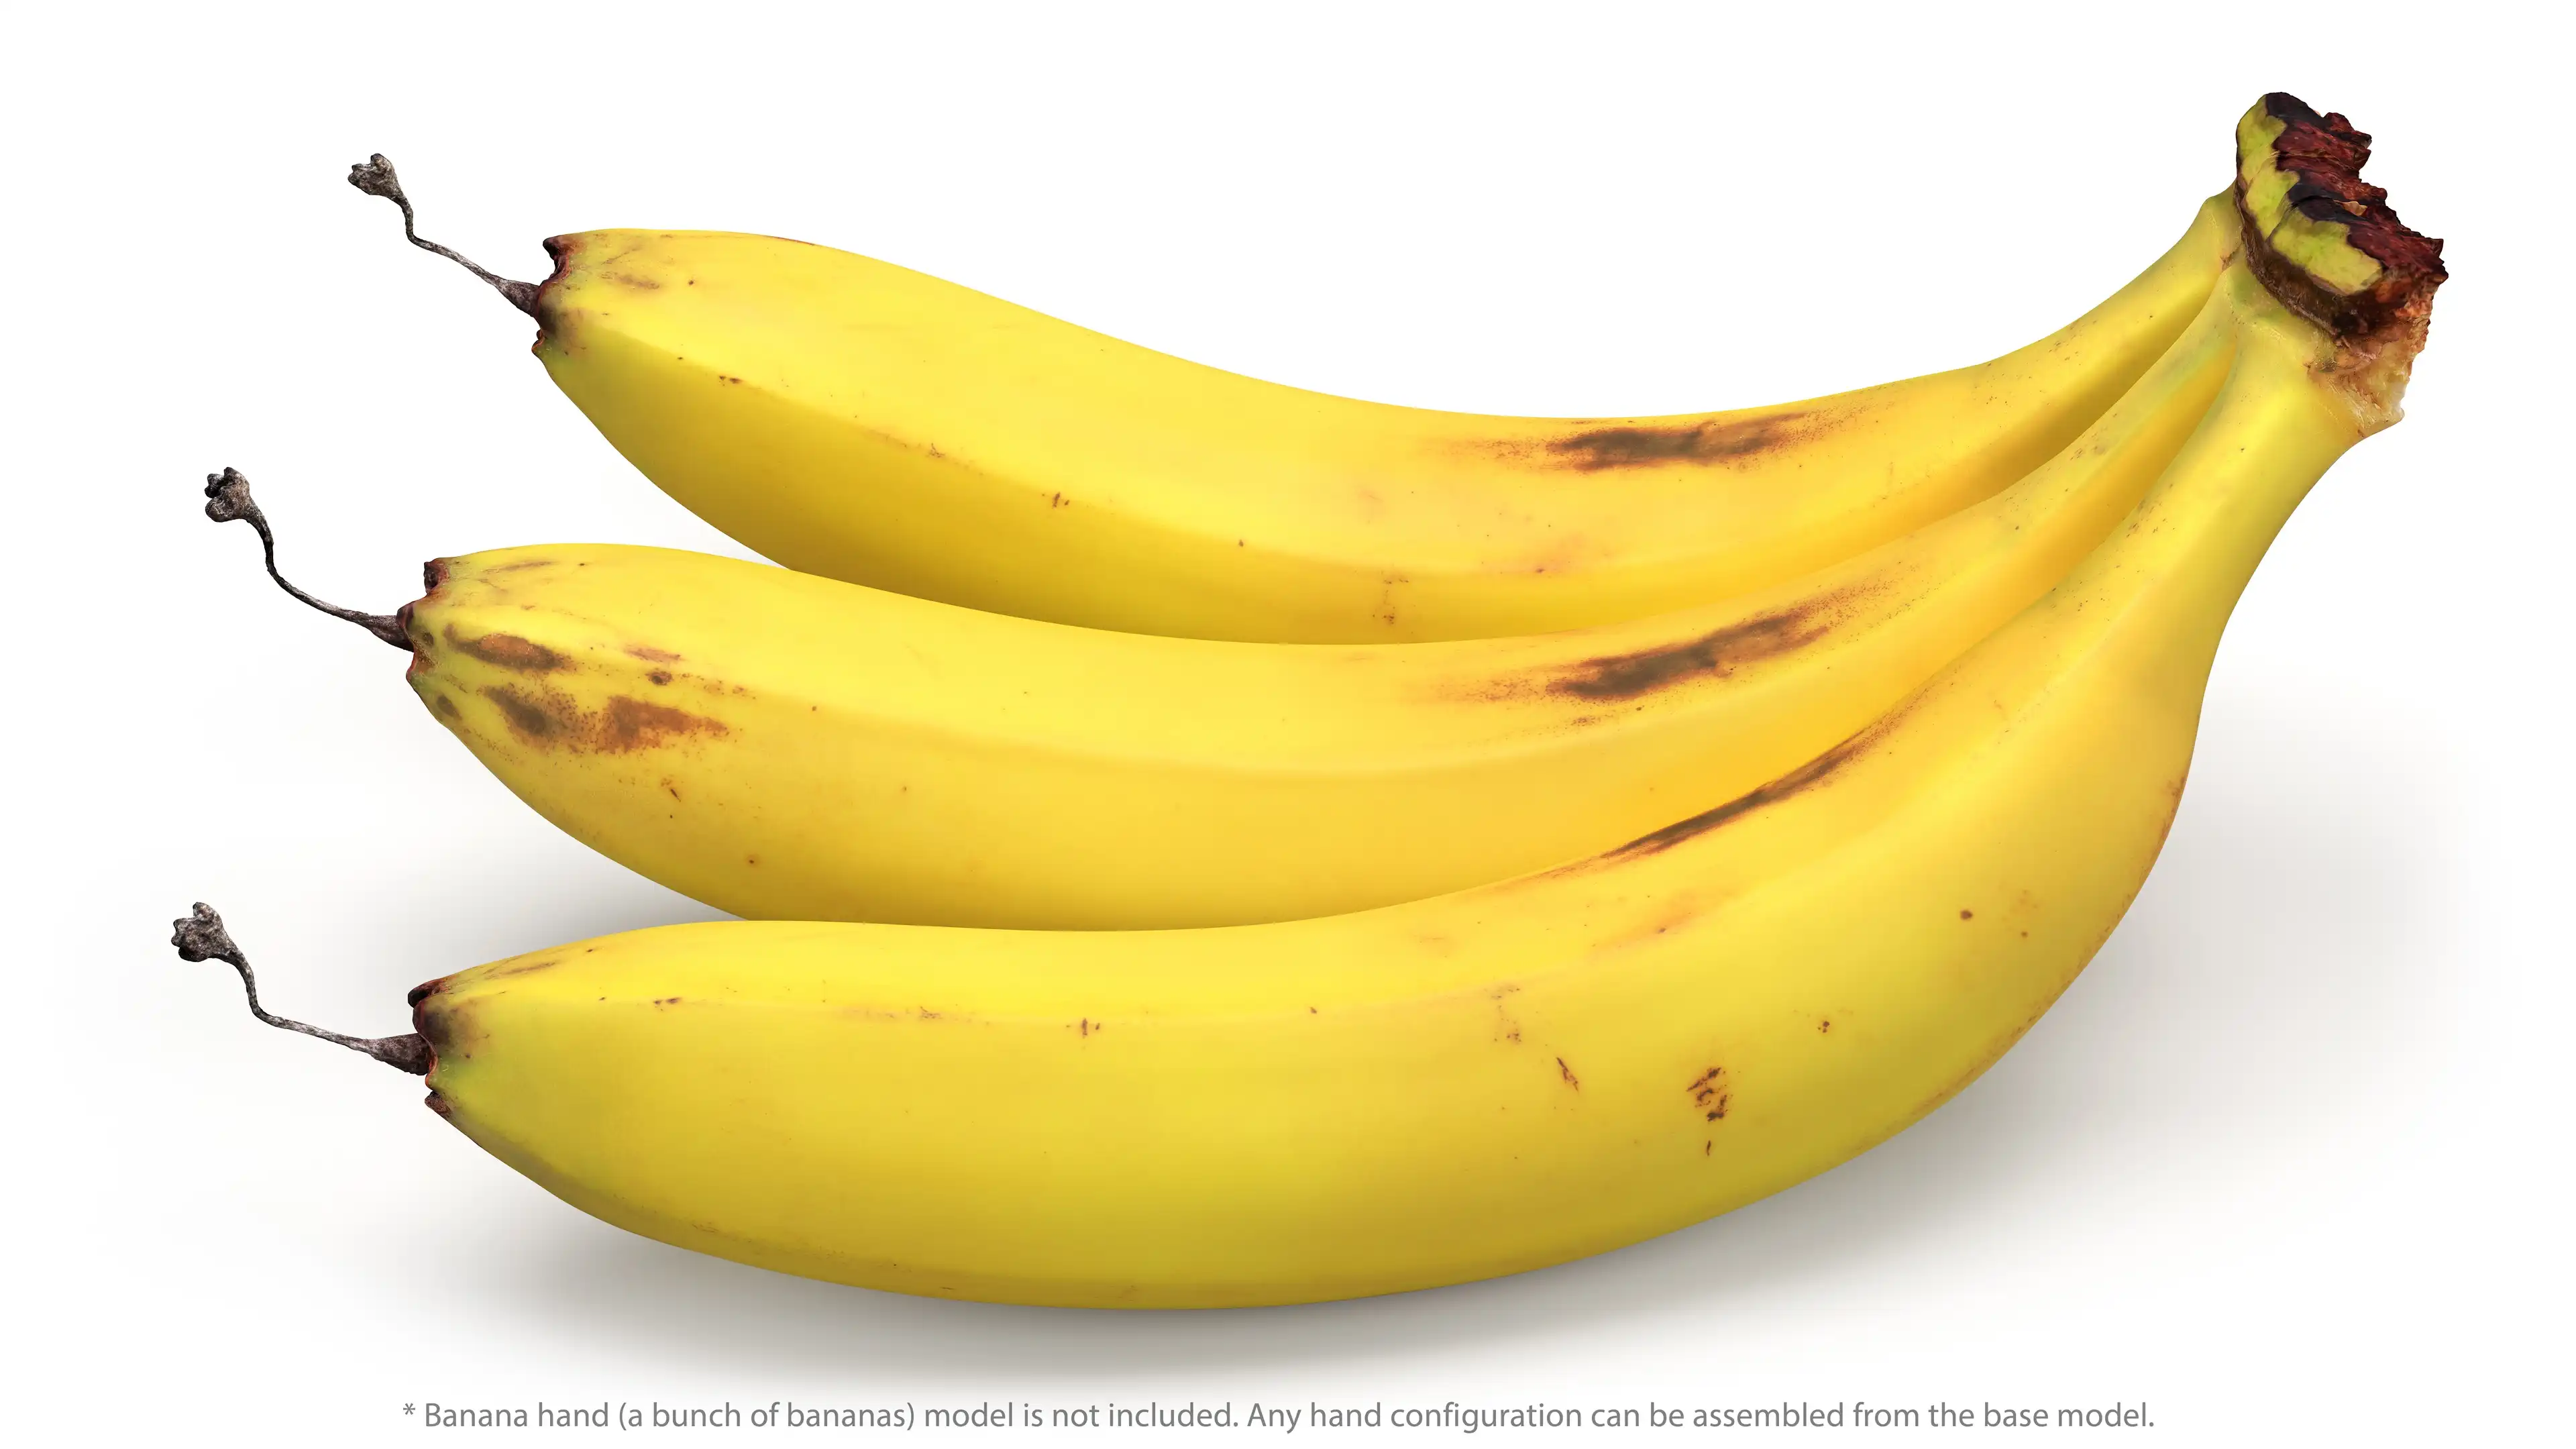
You can assemble any banana bunch configuration from a base mesh. Clone as many bananas as you need. Arrange them so that they achieve the desired appearance of the banana hand and fit the stems one close to another. Then, remove the adjacent polygons, attach banana in one model and weld the vertices with the required tolerance. Now you have a waterproof banana hand model, ready for subdivision of the surface. The smooth and displace modifiers will finish the job.
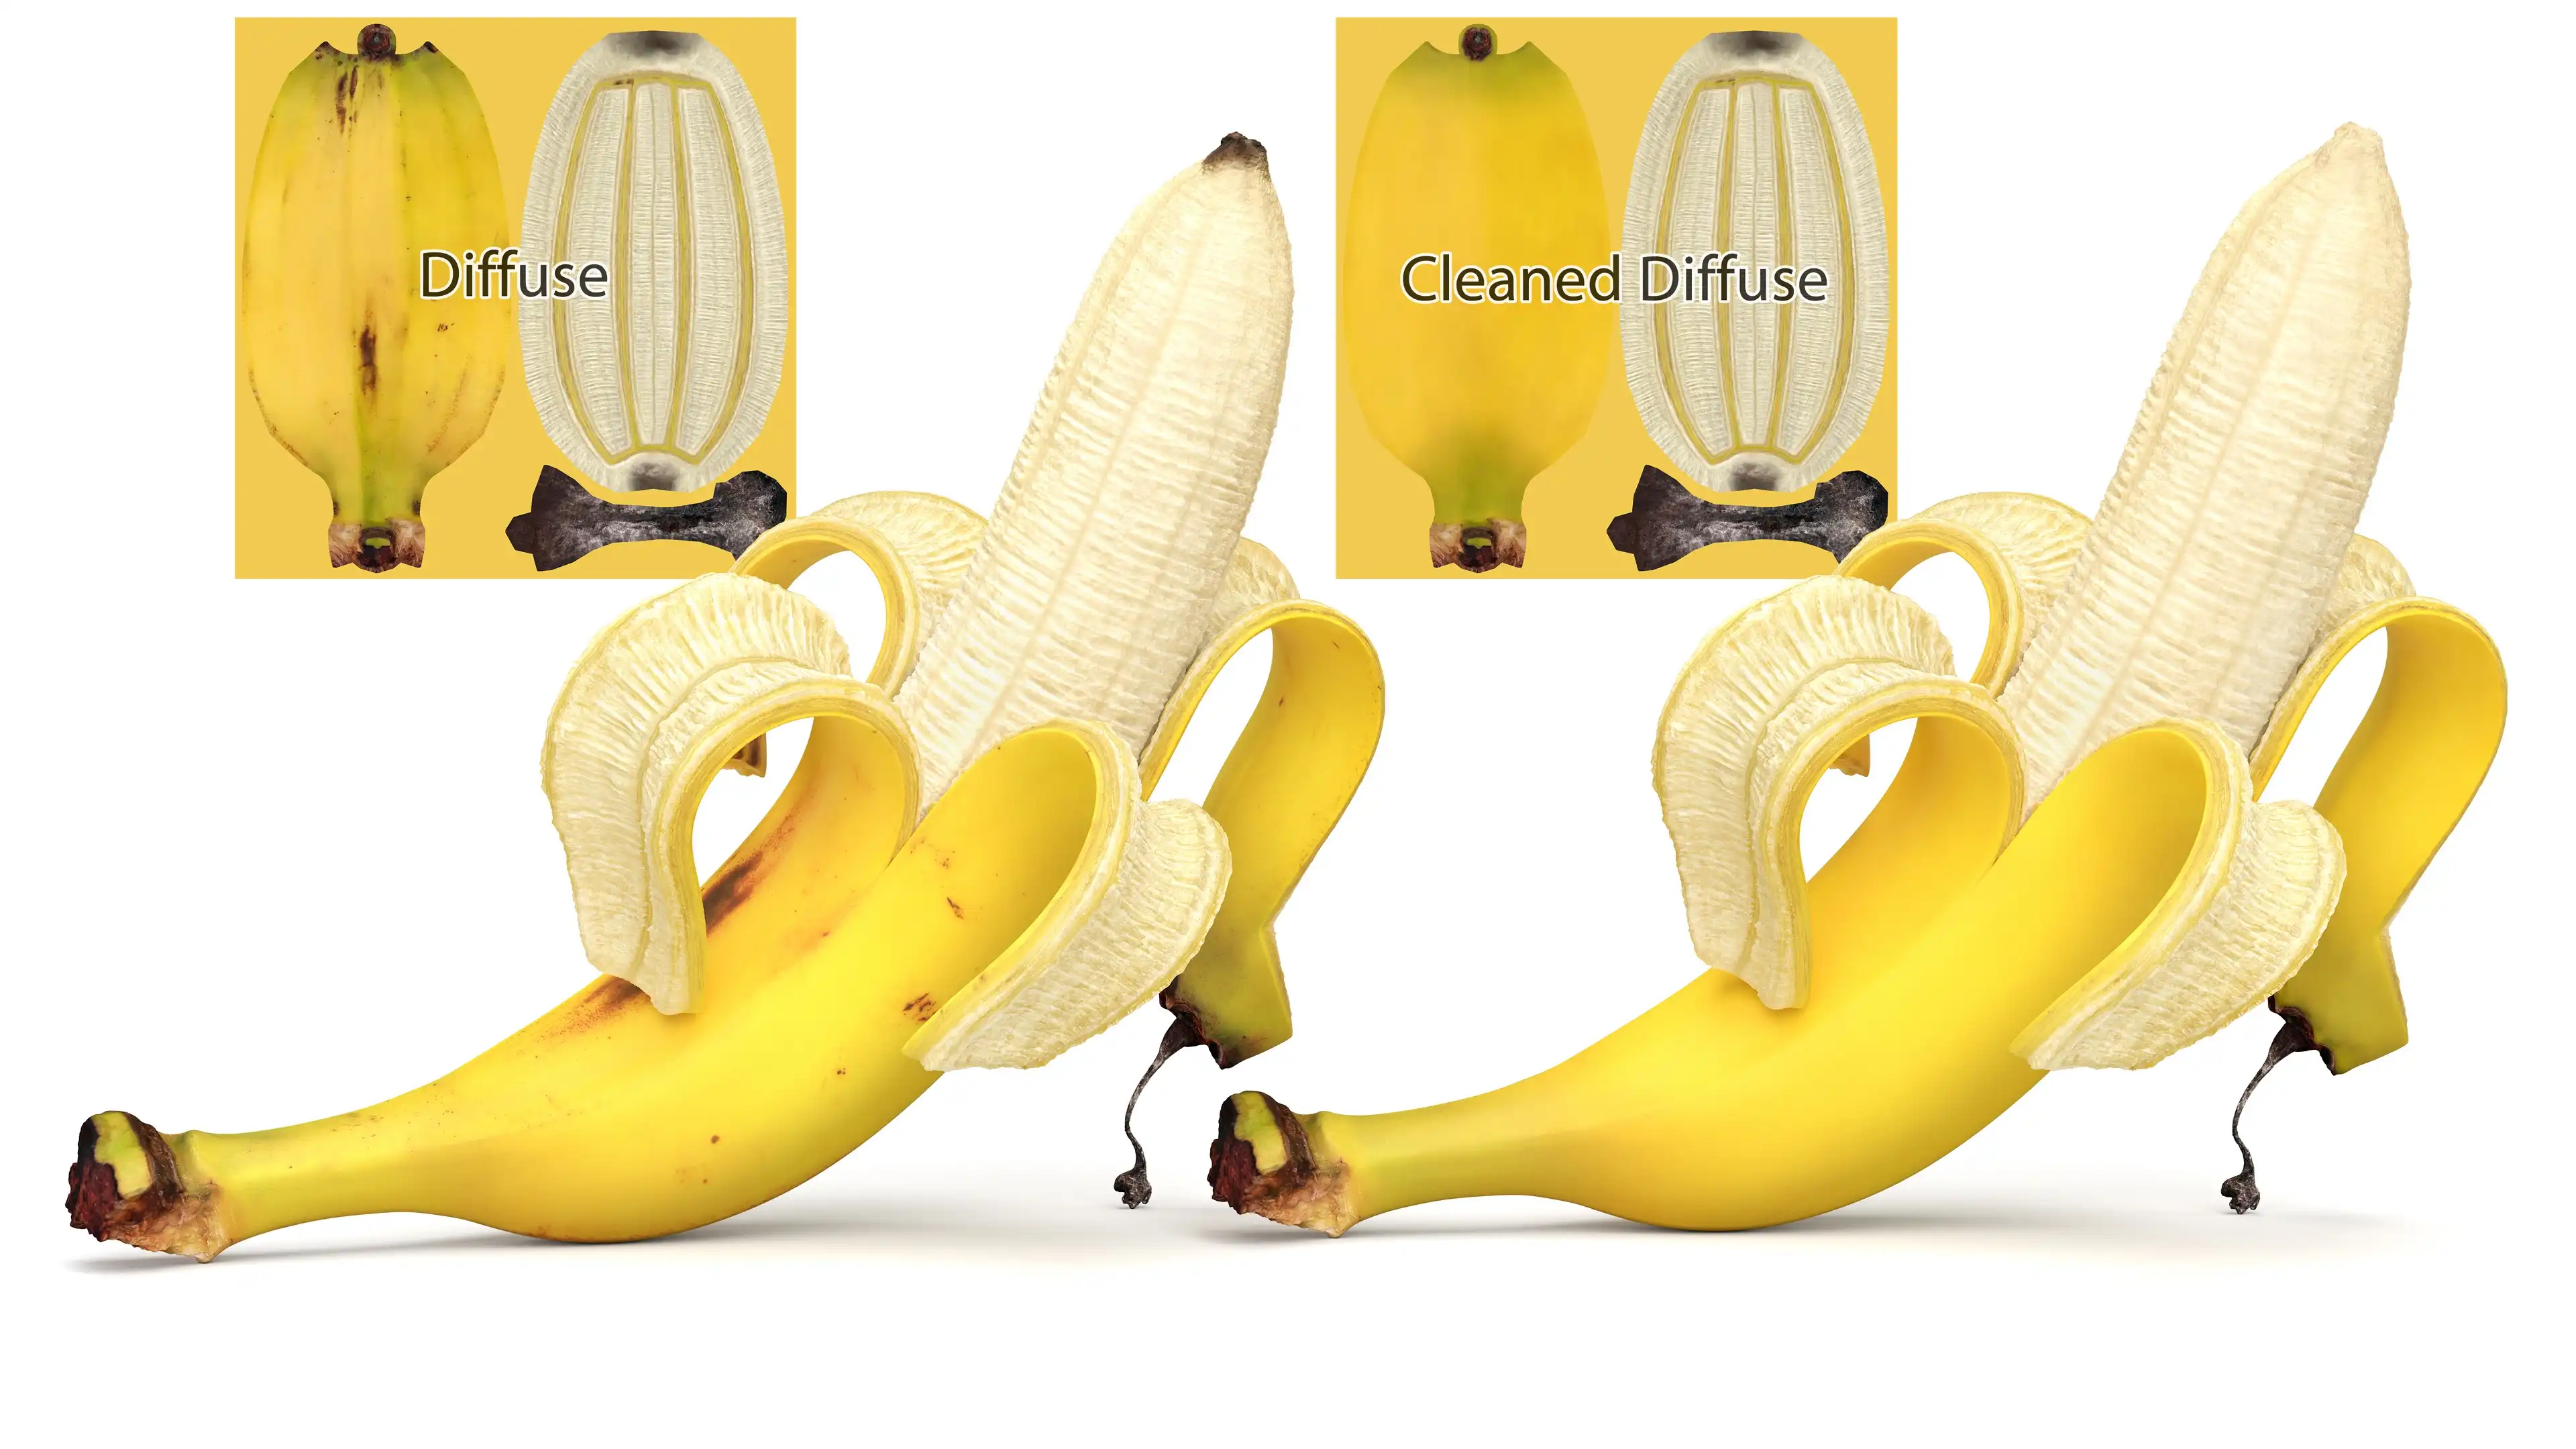
If you do not want a texture repeating on your banana bunch or maybe you need an idealized render for some reason, you can use the cleaned diffuse textures versions. Both textures versions (ripe and cleaned) for banana peel and banana soft edible inner part are included to the kit of this asset.
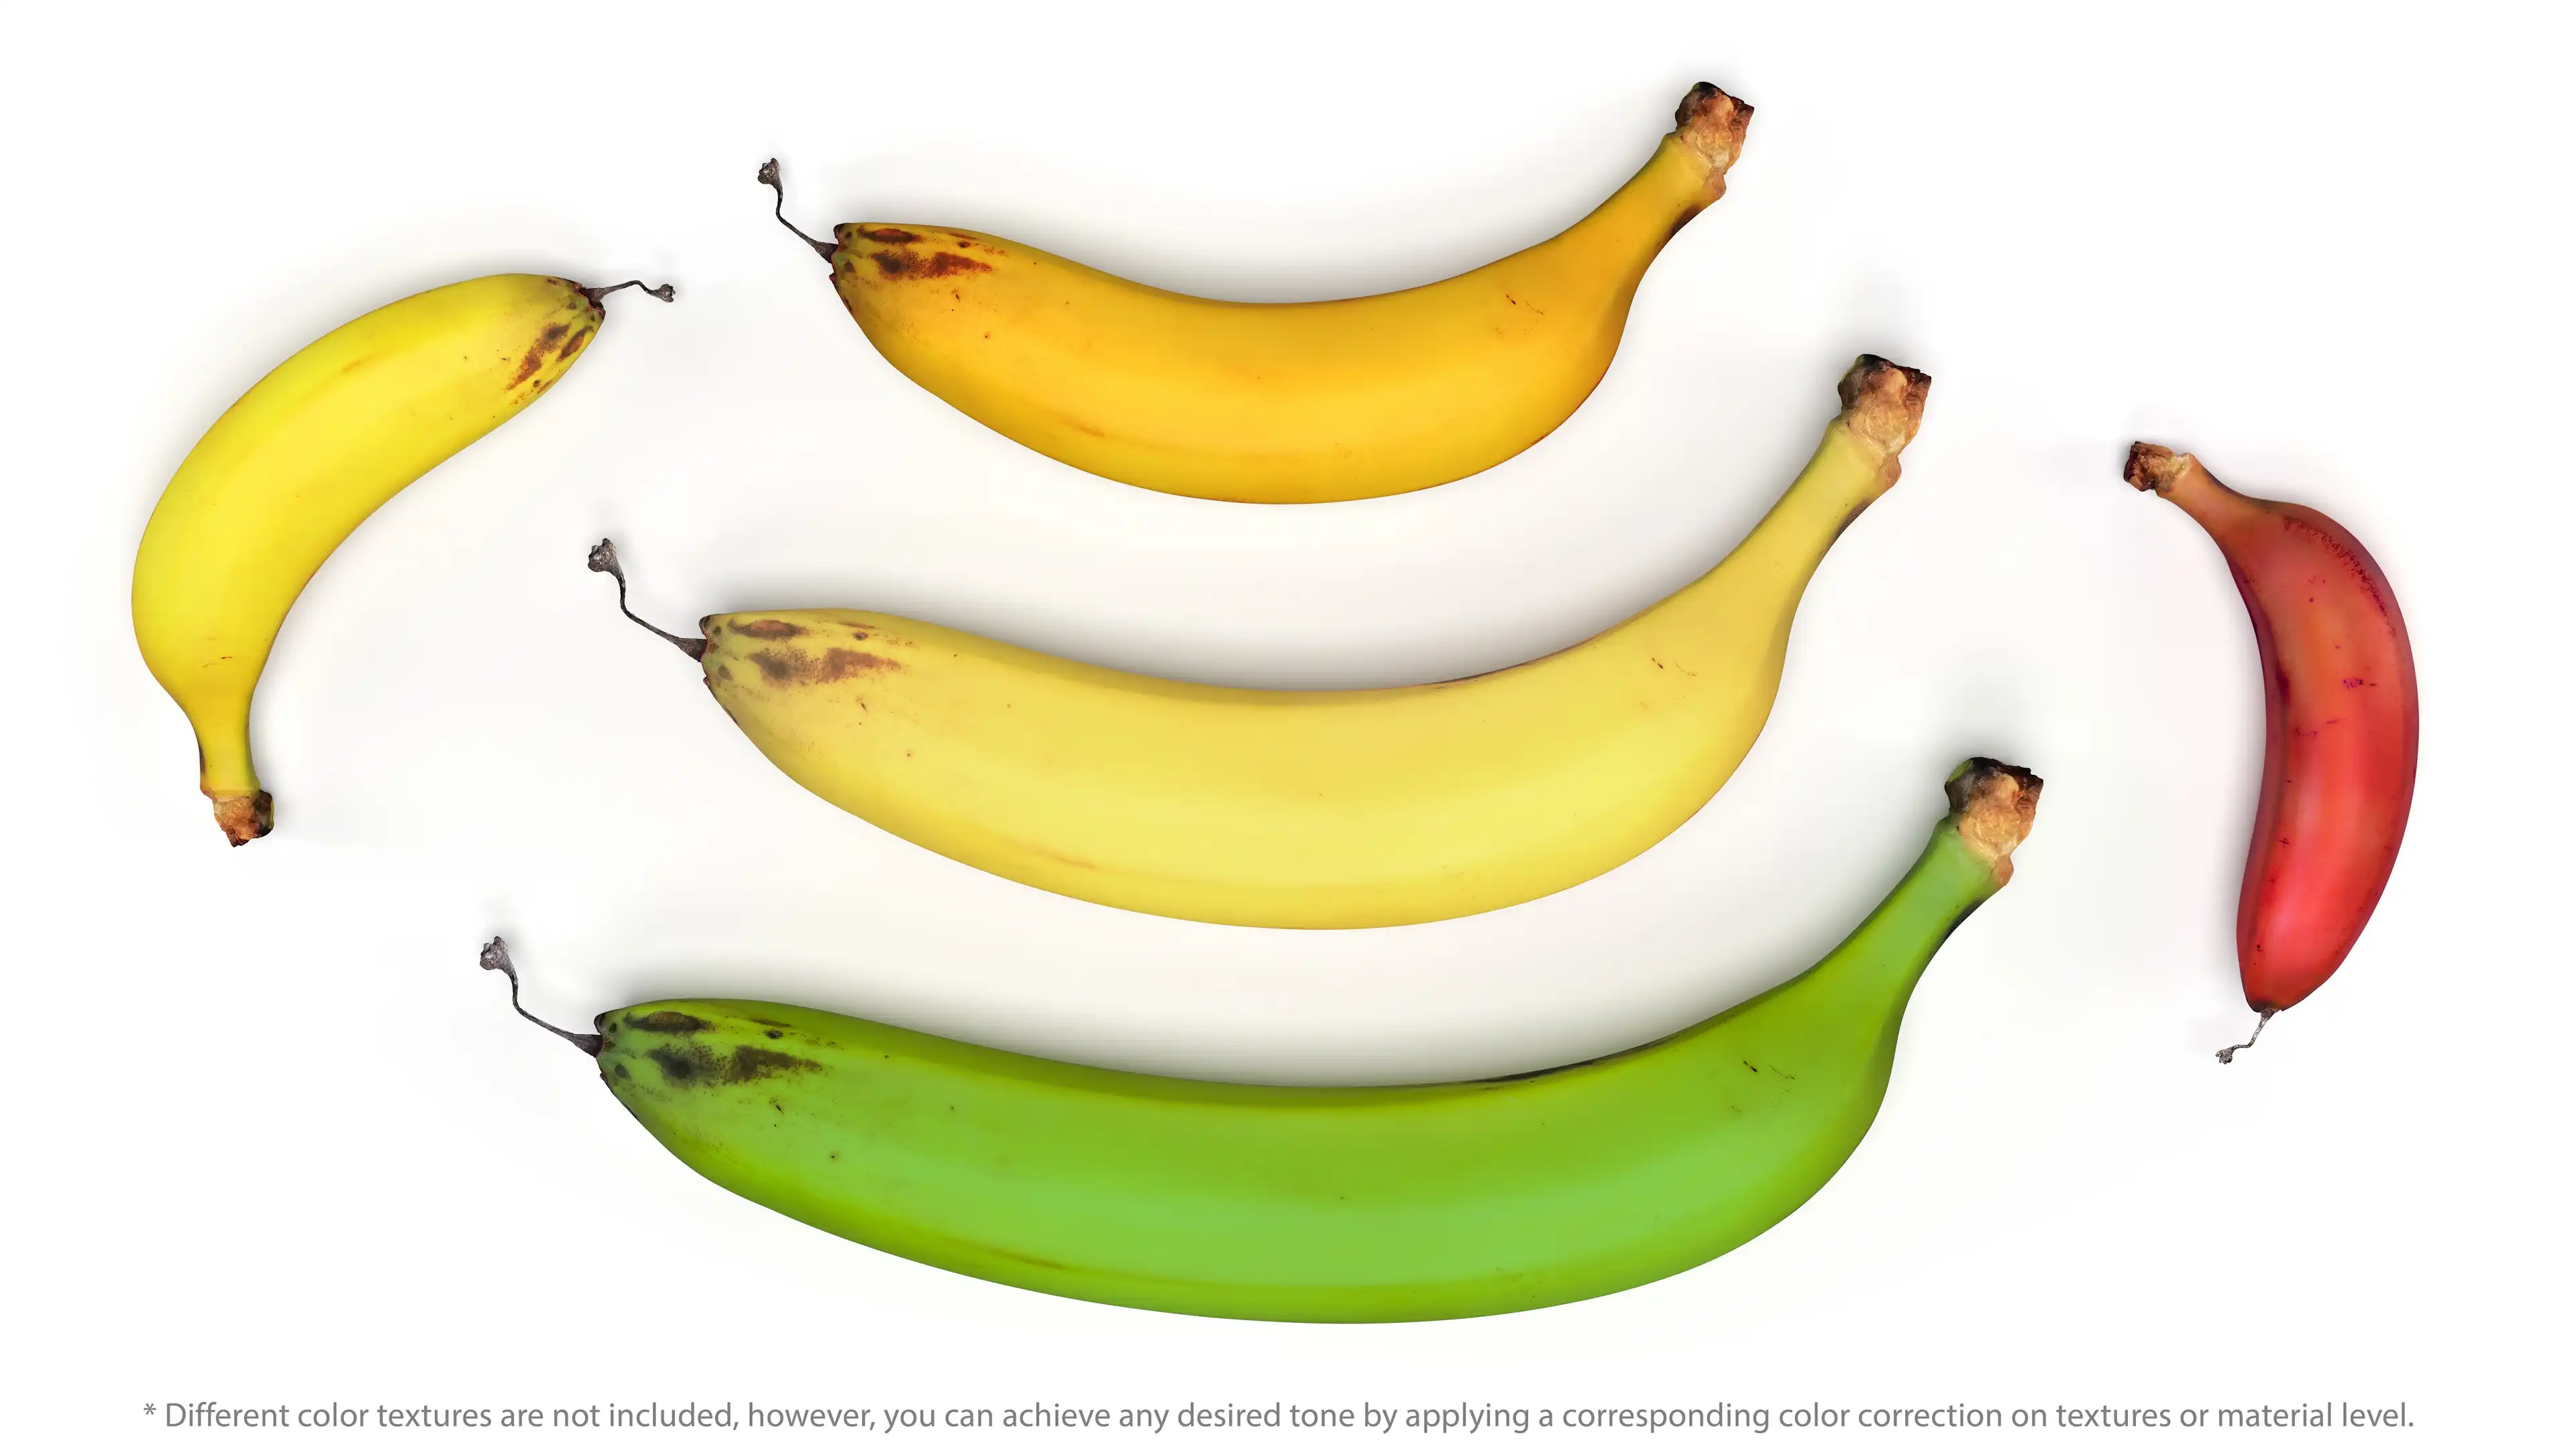
Also, the ready to render out of the box SSS V-Ray materials are applied to the 3ds Max version of the banana 3d model. You can change the color of the banana to the desired one. All you need is to change a few procedural colors in materials and color correct the diffuse texture. All the textures are instances where possible, so this process will be pretty simple.
Many images of bananas from different sources in different poses and environments have been used for inspiration in creating the current model presentation renders. Images gathered from the Internet were mainly used. For me it was a pretty simple task, especially downloading images from a browser by simply dragging and dropping. I use an image organizer for this purpose. Namely, the reference image manager RefShelf. It can collect and display reference images on top of other windows. This is quite useful for my daily work. You should definitely check this out too. Plus, it's completely free and has great documentation.
To know more about and buy this 3d asset, please visit its 3d marketplace page listed down below.
Share
Please share if you like it!